
Quilted Coasters
Hi! My name is Julie Parks. I love DIY projects and I love to sew. I’m new to quilting and was excited for the opportunity to share this tutorial for my most recent project. I share snips of my creative side at springtownstudios.
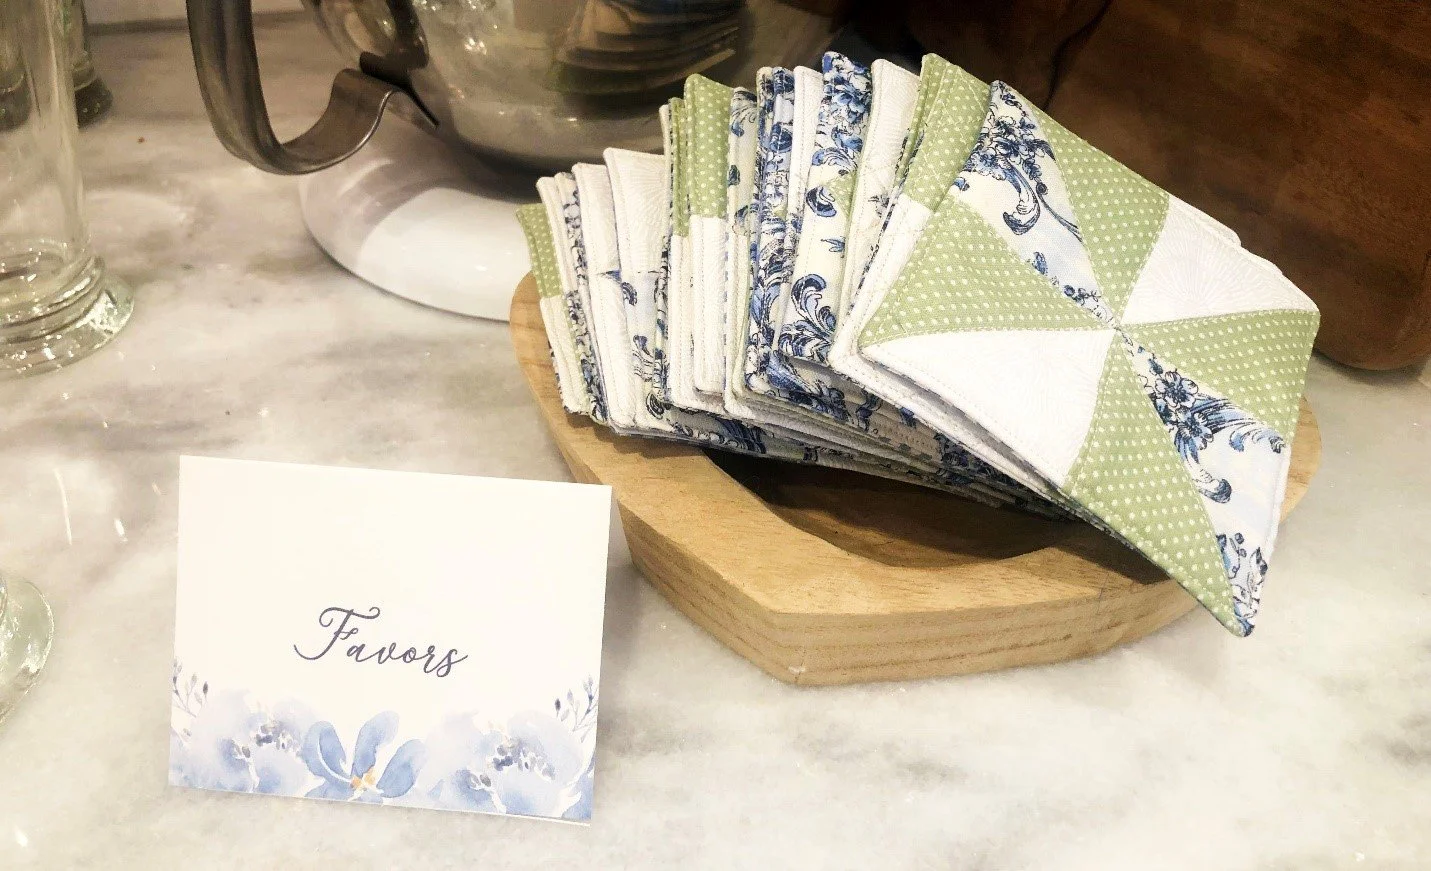
Recently I helped co-host a wedding shower for a dear friend who has a newfound love for quilts! I wanted to incorporate quilts into the theme somehow.
Although many people today do not sew, most still have an appreciation and an admiration for quilts. I ended up creating custom quilted coasters for the guests to use at the shower and take home as a favor. It was a hit!
MATERIALS/TOOLS YOU WILL NEED:
· 3 coordinating fabric prints
· 1 or 2 background fabrics (white)
· Batting
· Sewing Machine
· Rotary cutter and cutting mat
· Scissors
· Thread
· Pins or clips
· Sewing Awl or similar tool
· Iron and wool pressing mat or ironing board
SELECTING FABRICS:
First, I carried around the wedding invitation and selected some gorgeous fabrics that matched the wedding colors – blue and white with a secondary green color for the bride’s upcoming classy southern June wedding. Blue is the dominant color and I fell in love with this dreamy blue and white print that I ended up finding at Hobby Lobby! I already had the green polka dot fabric in my stash at home.
CREATING MINI QUILT BLOCKS:
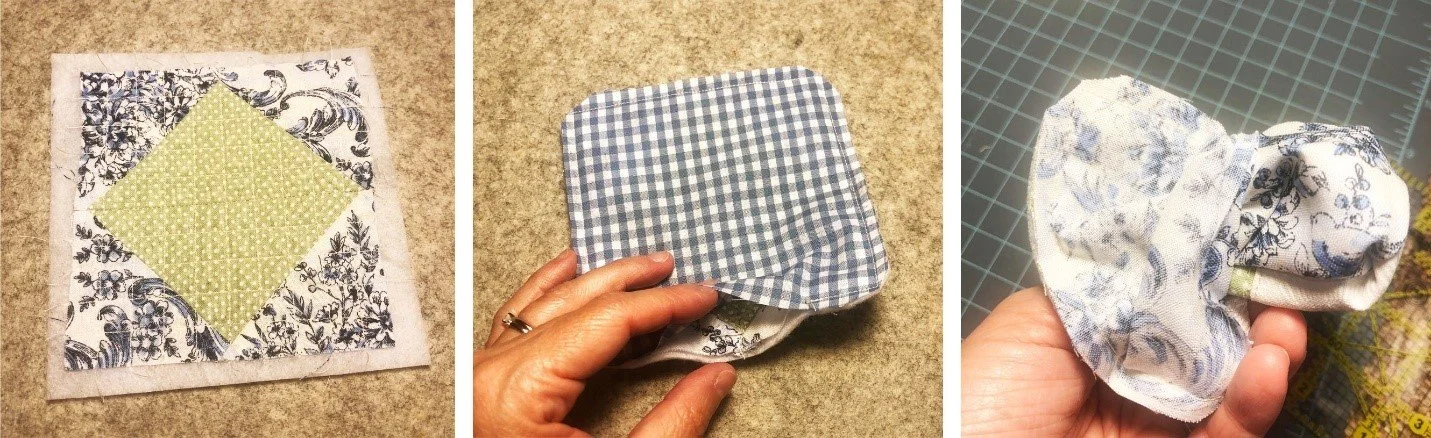
I wanted a quilt-y vibe, so from the beginning I planned to have a variety of coordinating patterns and fabrics. I really liked the thought of a diamond shape and played around with it until I was satisfied. I ended up with a diamond pattern (made with flying geese), a pin wheel pattern (made with half square triangles) and added a simple four patch as I began to run short on time!
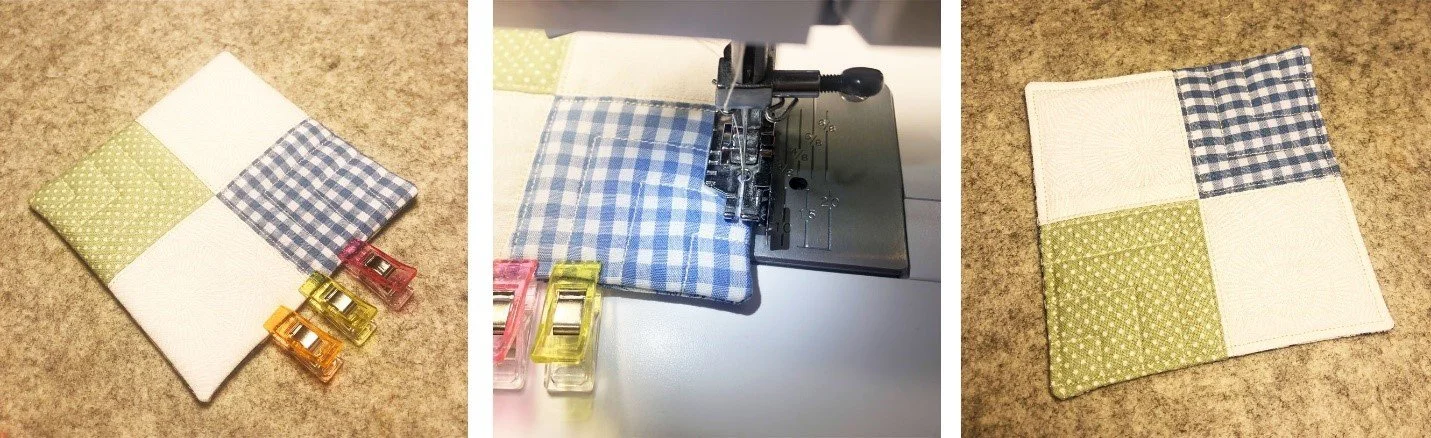
FOUR PATCH BLOCK: Sew (4) 3”x3” squares together with ¼” seams to make a small 4-patch block. Press seams.
QUILTING YOUR COASTERS:
Cut out 5.5” square of batting. Center the quilt block onto the batting and pin secure if desired. Quilt each one but don’t be afraid to sew different patterns. Even with simple straight-line quilting, you can still get pretty creative with different patterns.
BACKING:
Once all your blocks are quilted to the batting pieces, use your ruler and rotary cutter to trim each block down to 4.75”x 4.75.” I like to align the 2 3/8” mark on my ruler with the center seam, trim, rotate and repeat for all sides. It’s quick and the block will be perfectly centered.
Pin your backing fabric right sides to together onto each quilted piece.
Sew all sides ¼” from the edge, leaving a 2-3” gap for turning. Be sure to back stitch when you start and stop so that when turning right side out, the stiches don’t pull out!
Trim all four corners then turn each coaster right side out. Use a sewing awl or similar tool with a blunt end to work out the corners. Iron flat, being careful to make sure the opening is folded under properly. Pin or clip to hold secure.
FINISHING YOUR COASTERS:
Top stich approximately 1/8th of an inch from the outer edge of the coaster making sure to catch the loose ends of the opening as you sew. It is helpful to either sew very slowly or manually hand crank the sewing machine around the corners. Sometimes it was necessary to raise the presser foot and shift the coaster slightly (one stitch length at a time) to help turn the corner. Sewing so close to the edge sometimes prevents the machine from pulling the fabric through normally because there is not much fabric in contact with the feed dogs.
Trim off your thread and enjoy! Finished size is 4 ¼” x 4 ¼” and is the perfect size for standard glasses and oversized mugs.