
Big Stitch Binding
I love adding new details and textures to quilts. Over the past year I have played around with my binding and how I hand stitch along the back side of my quilt to finish it. Here are all the tools I have found to be the best for the big stitch binding and tips on how to do this on your own quilt.
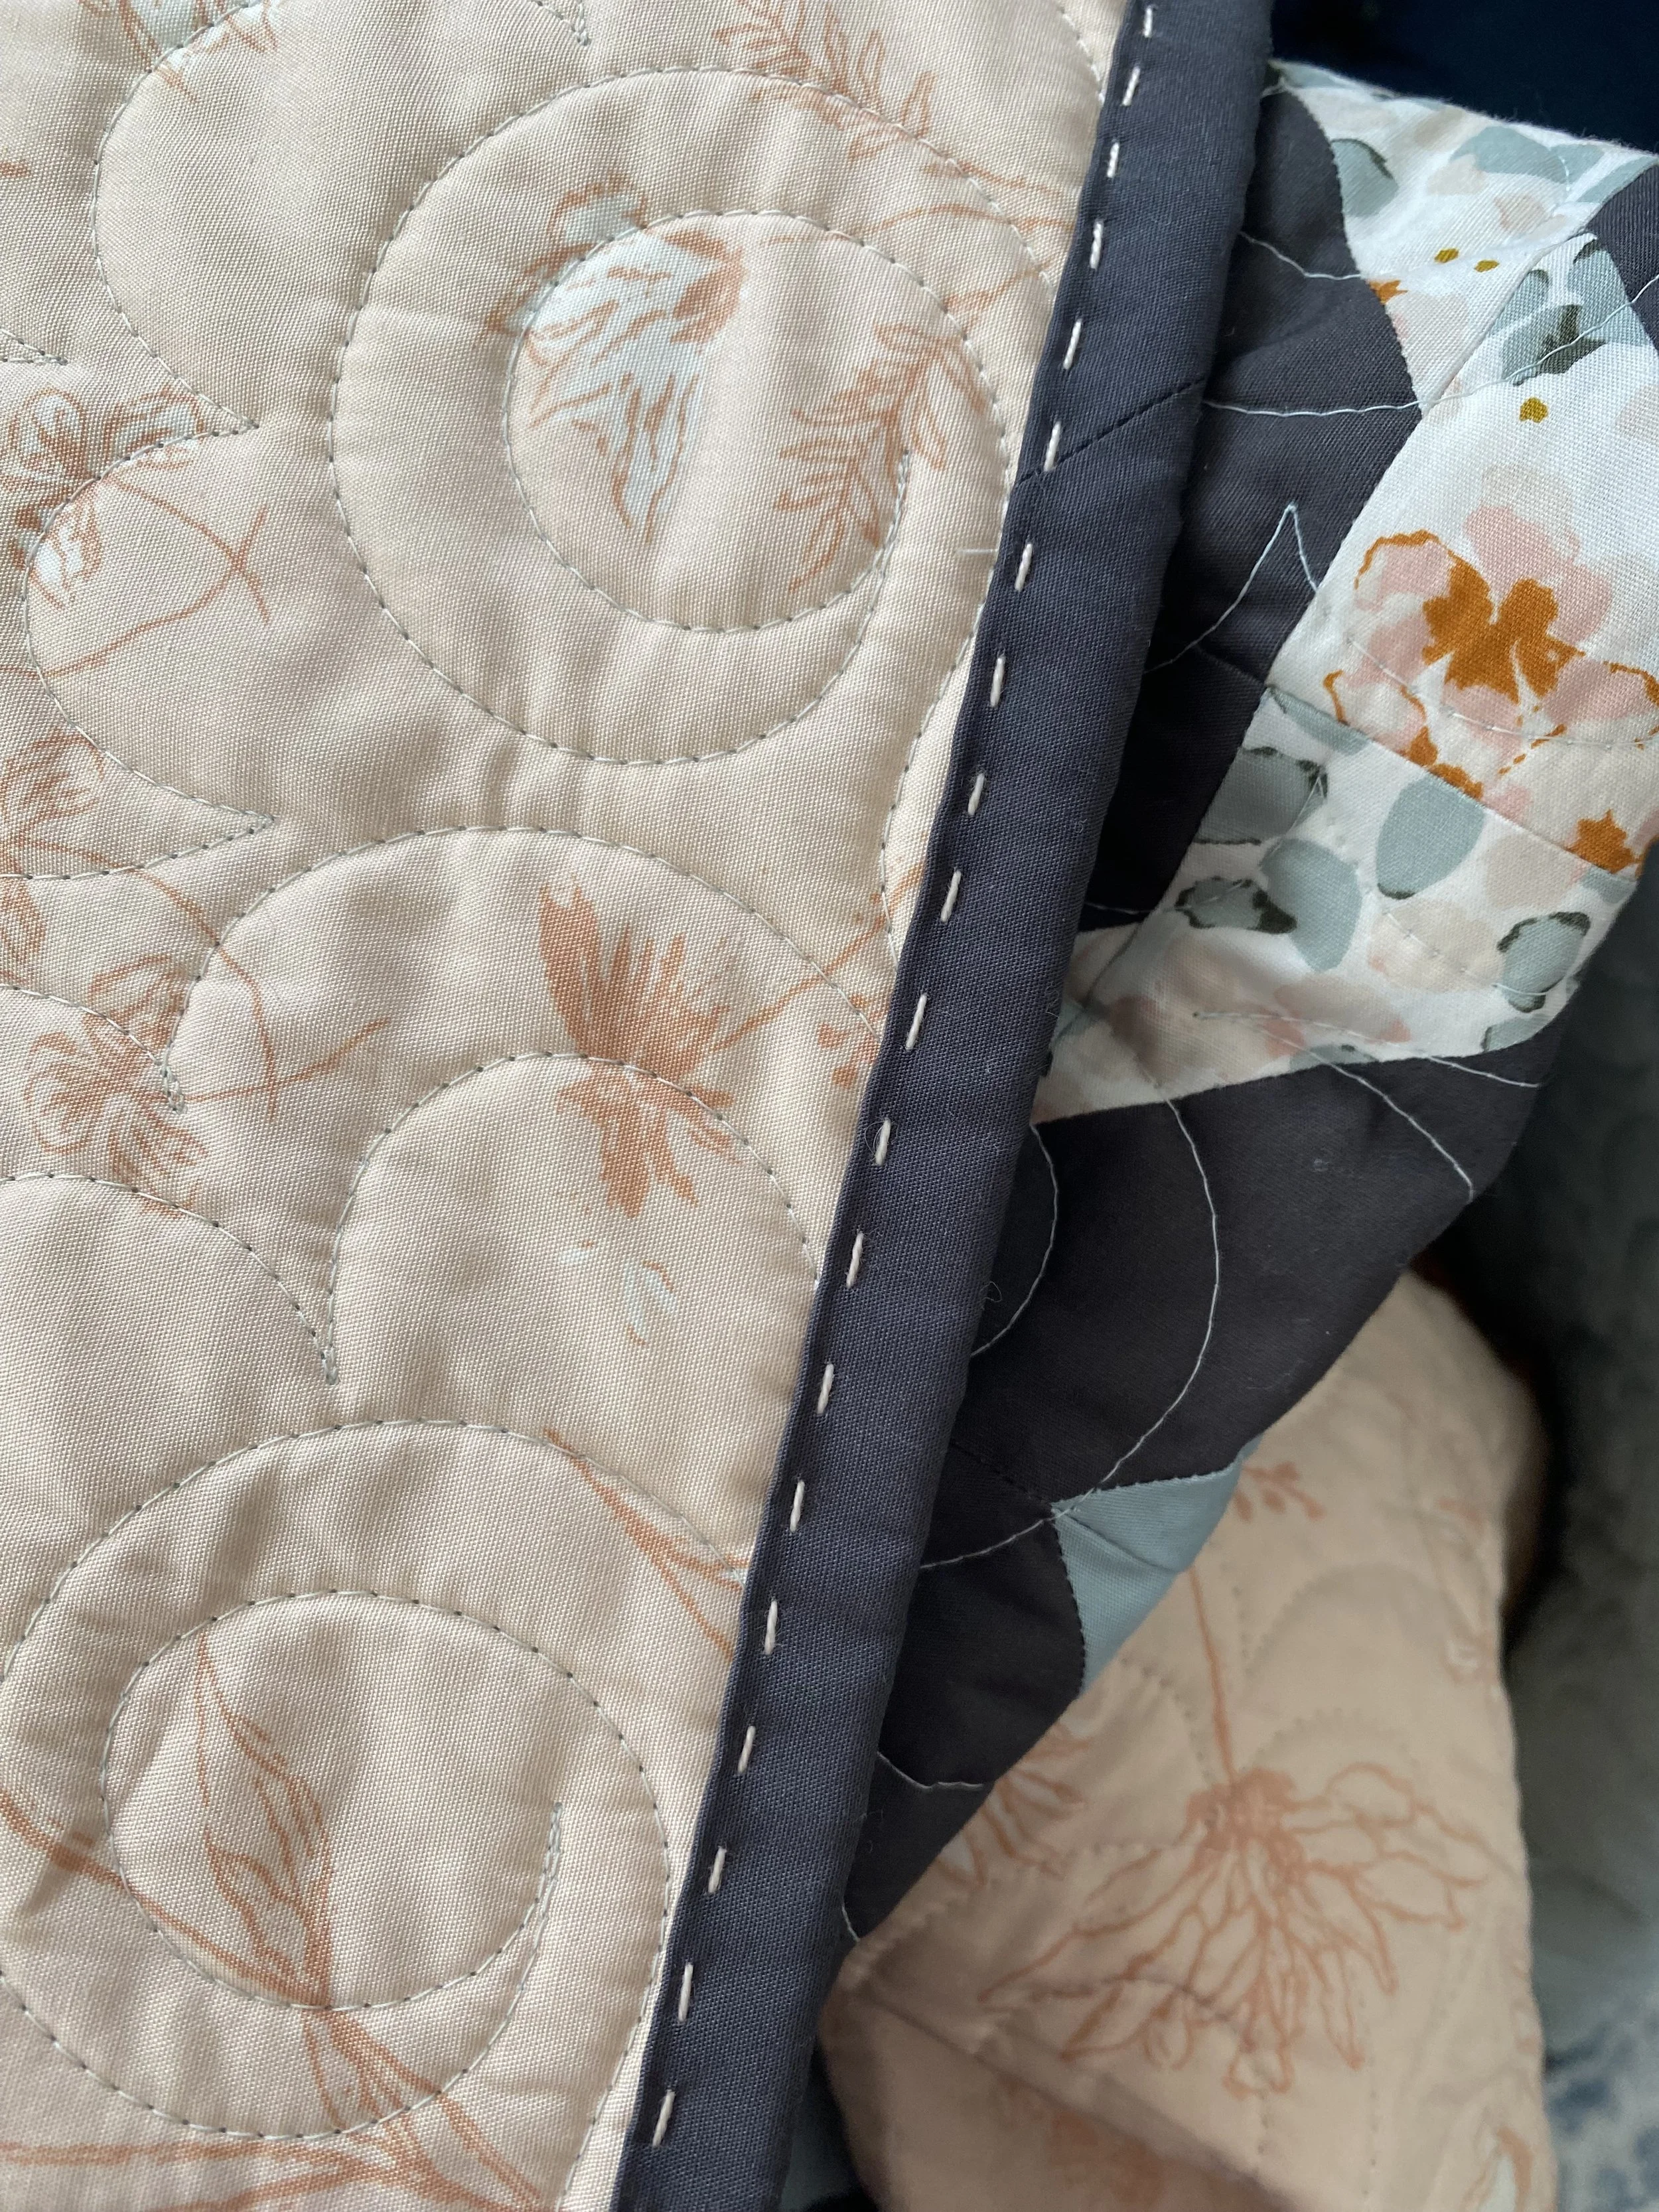
To start, I cut my binding strips at 2 1/4”. I then sew all binding strips end to end and press the strips in half. I use my sewing machine to attach my binding to the front side of my finished quilt. I like to have the front of the quilt be simple along the binding to not take away from the design. The big stitch binding I do is along the back side of the quilt where I feel like I can be more playful since it isn’t seen as often as the front.
Tools I use:
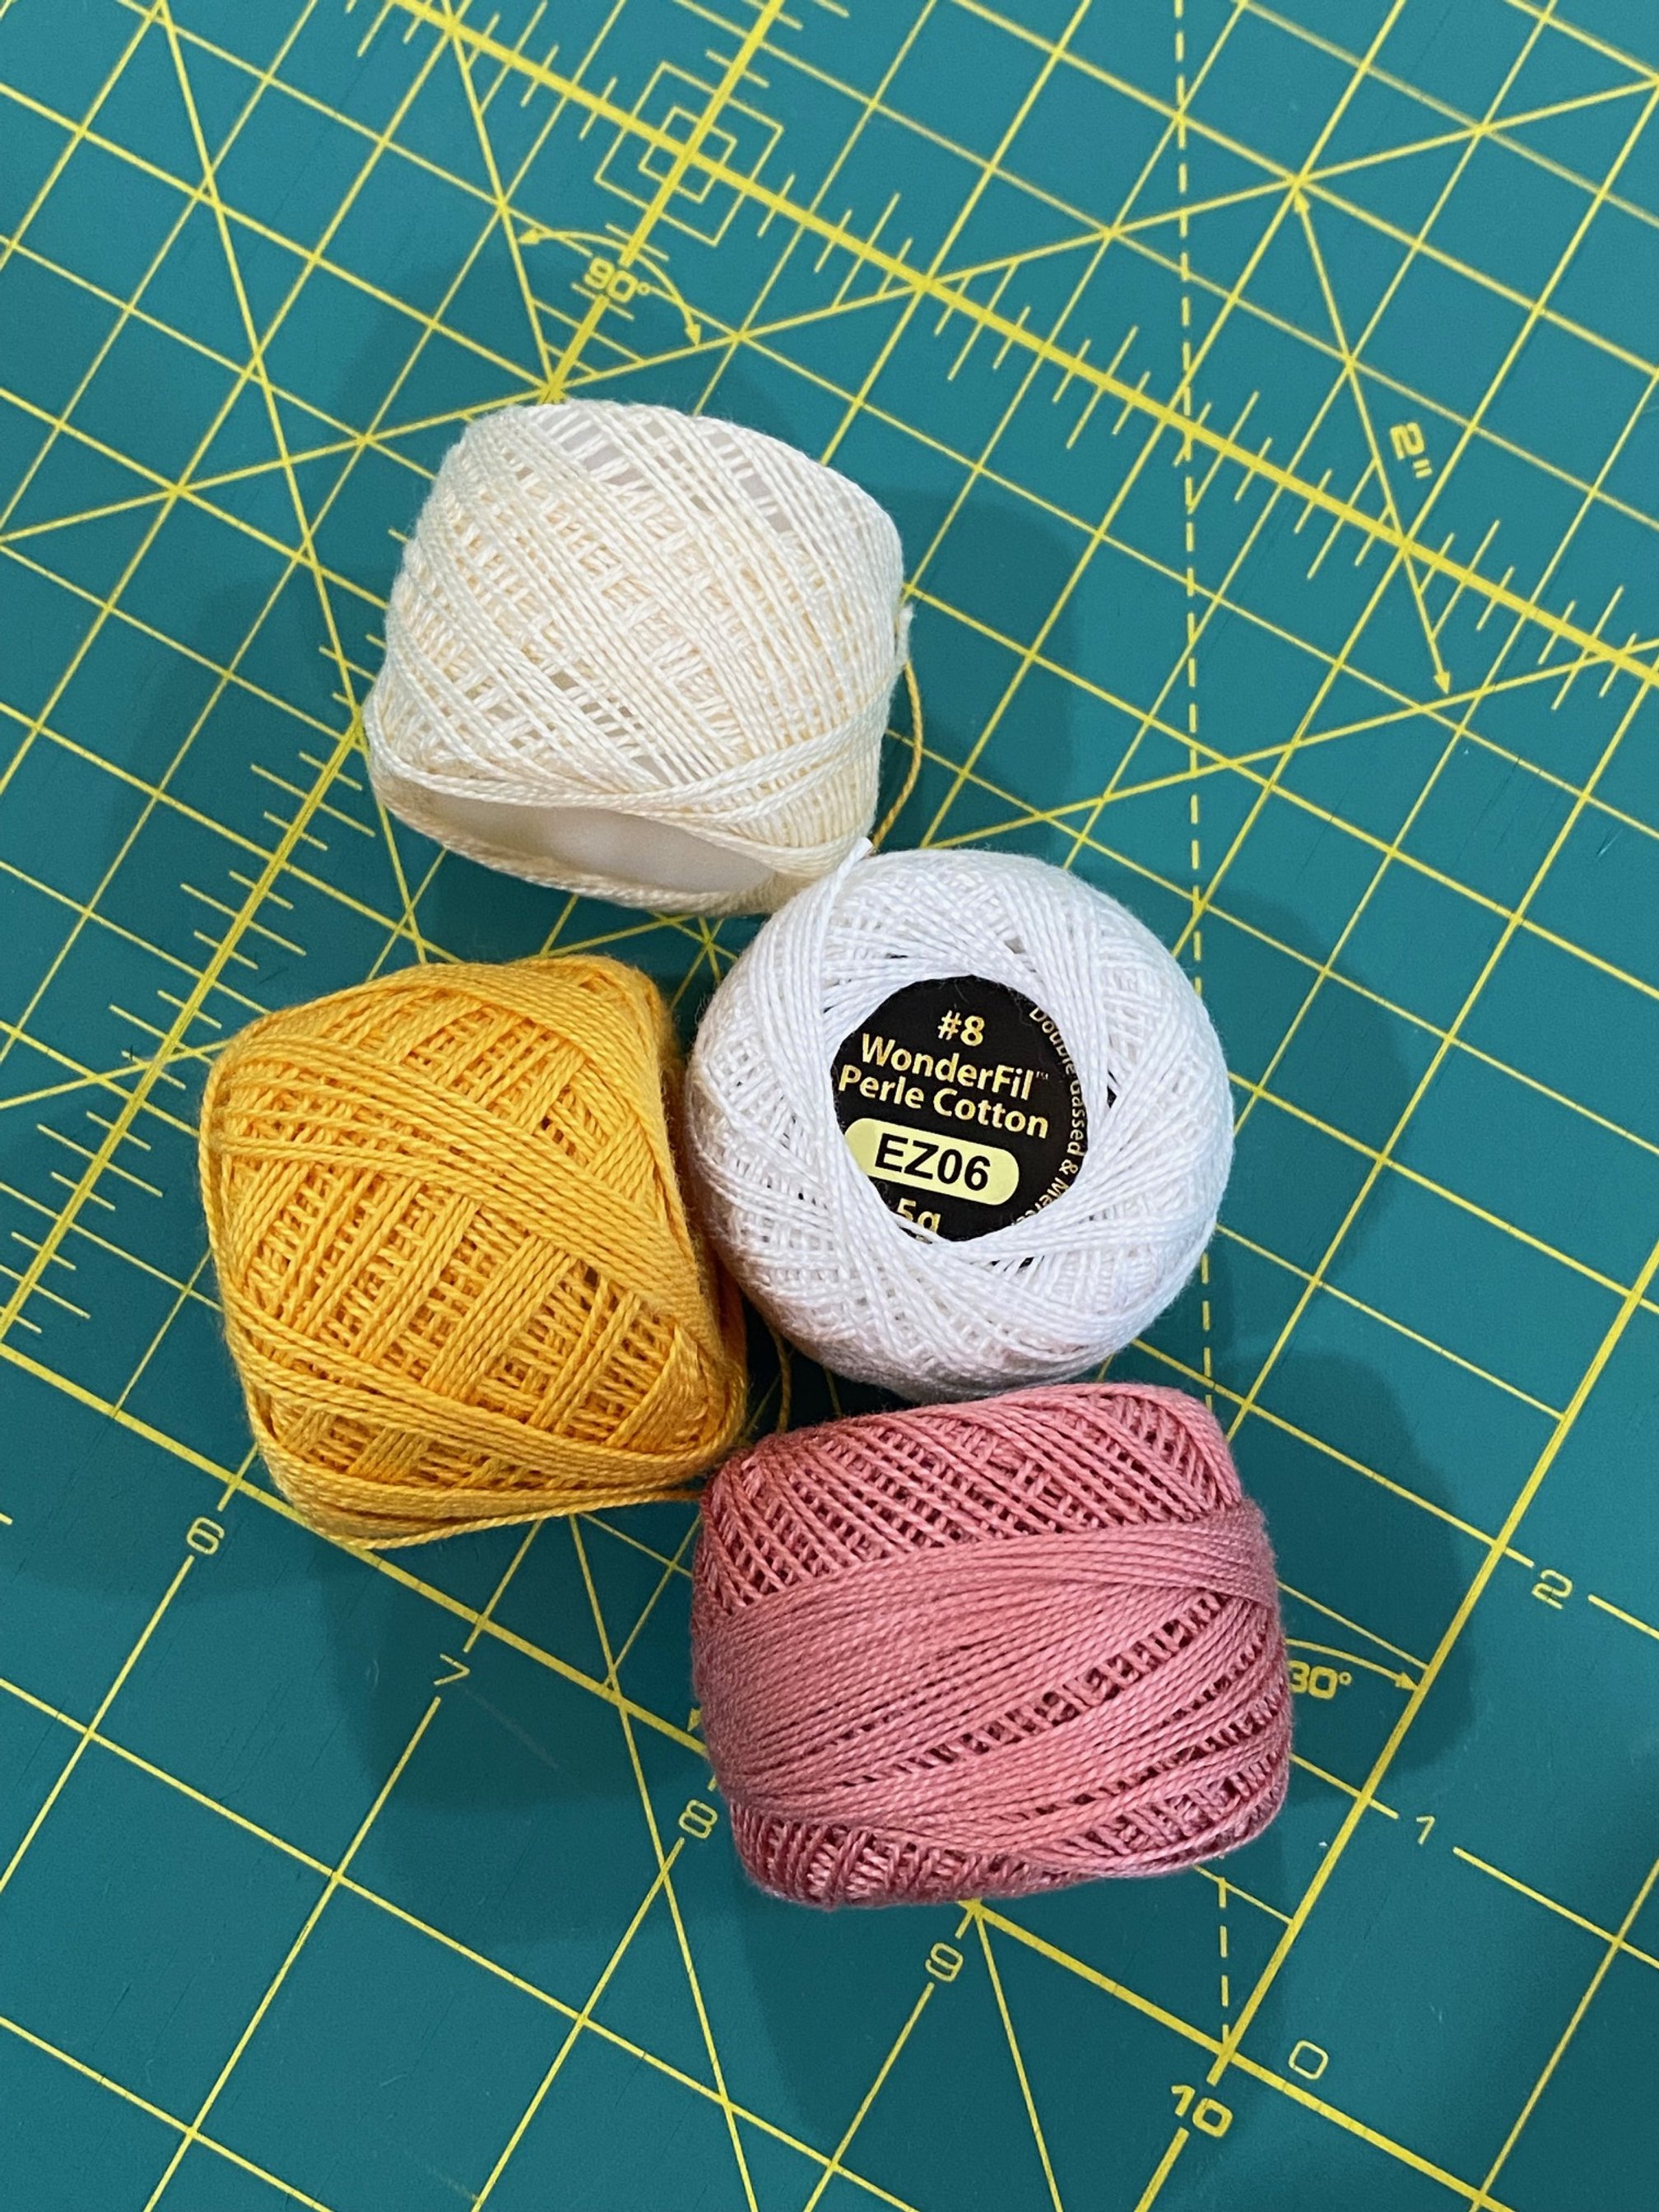
-perle 8 cotton thread (click here to see the exact ones I use)
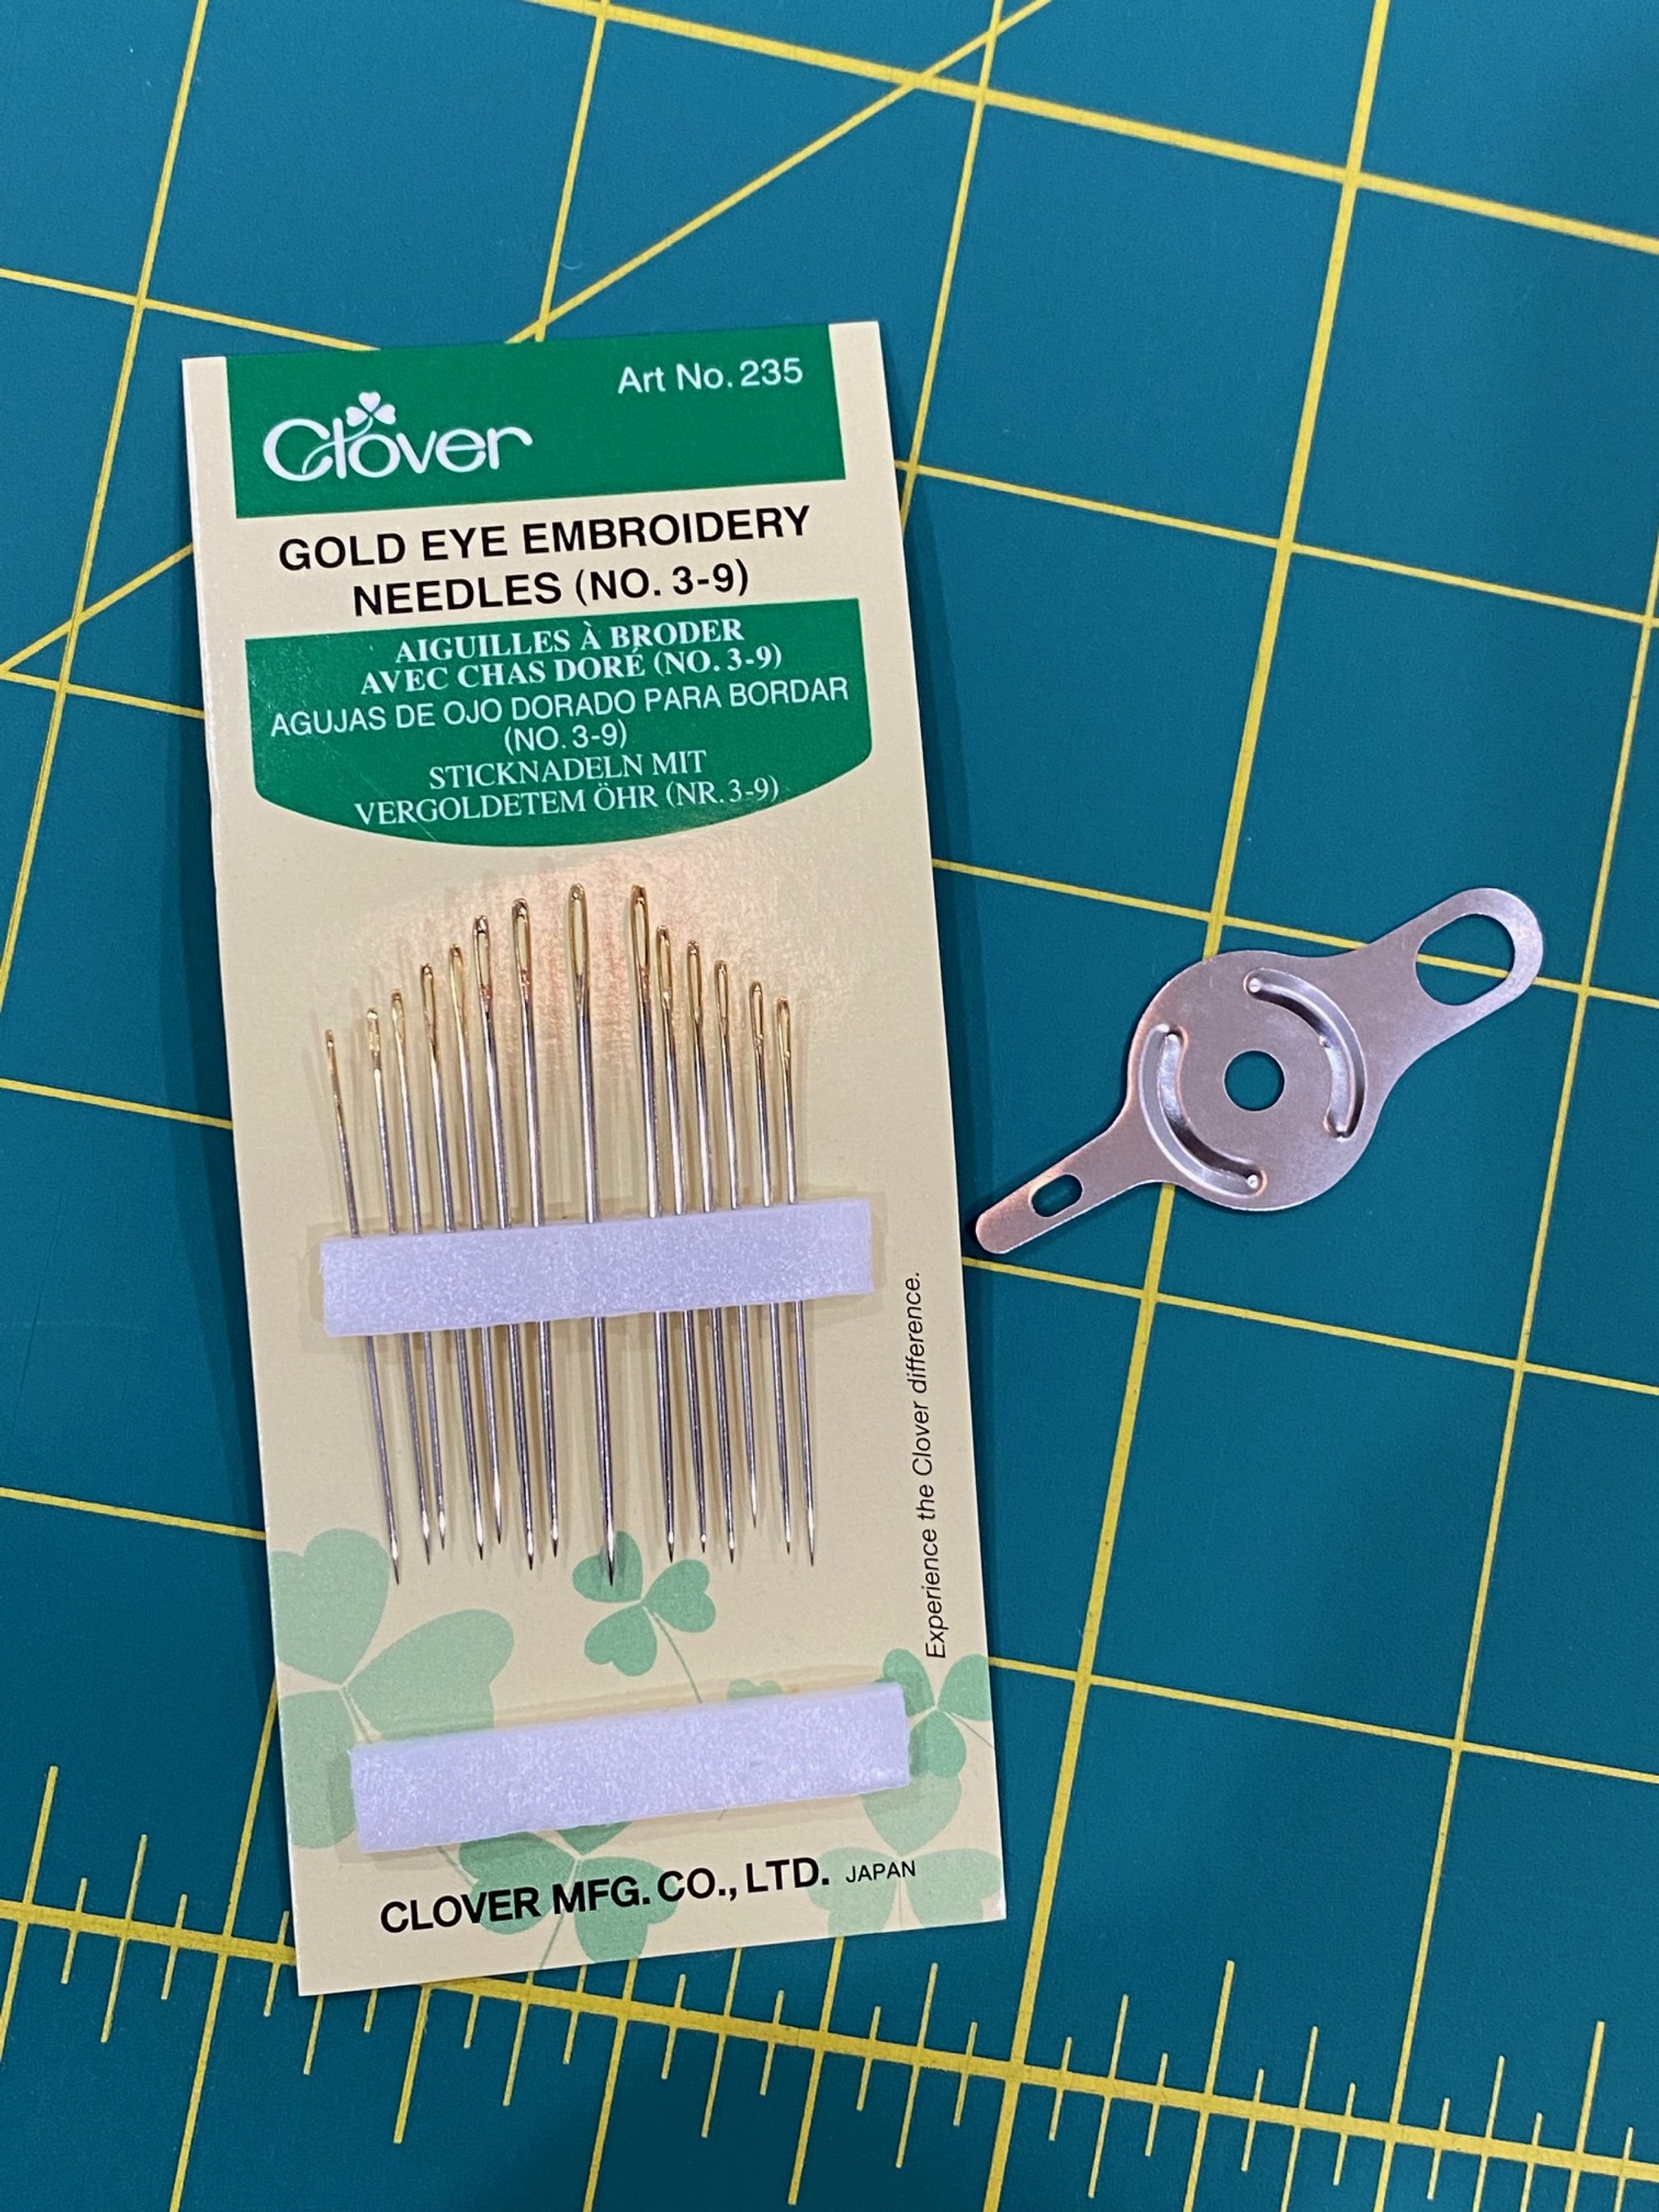
-hand embroidery needle size 3-4 (click here)
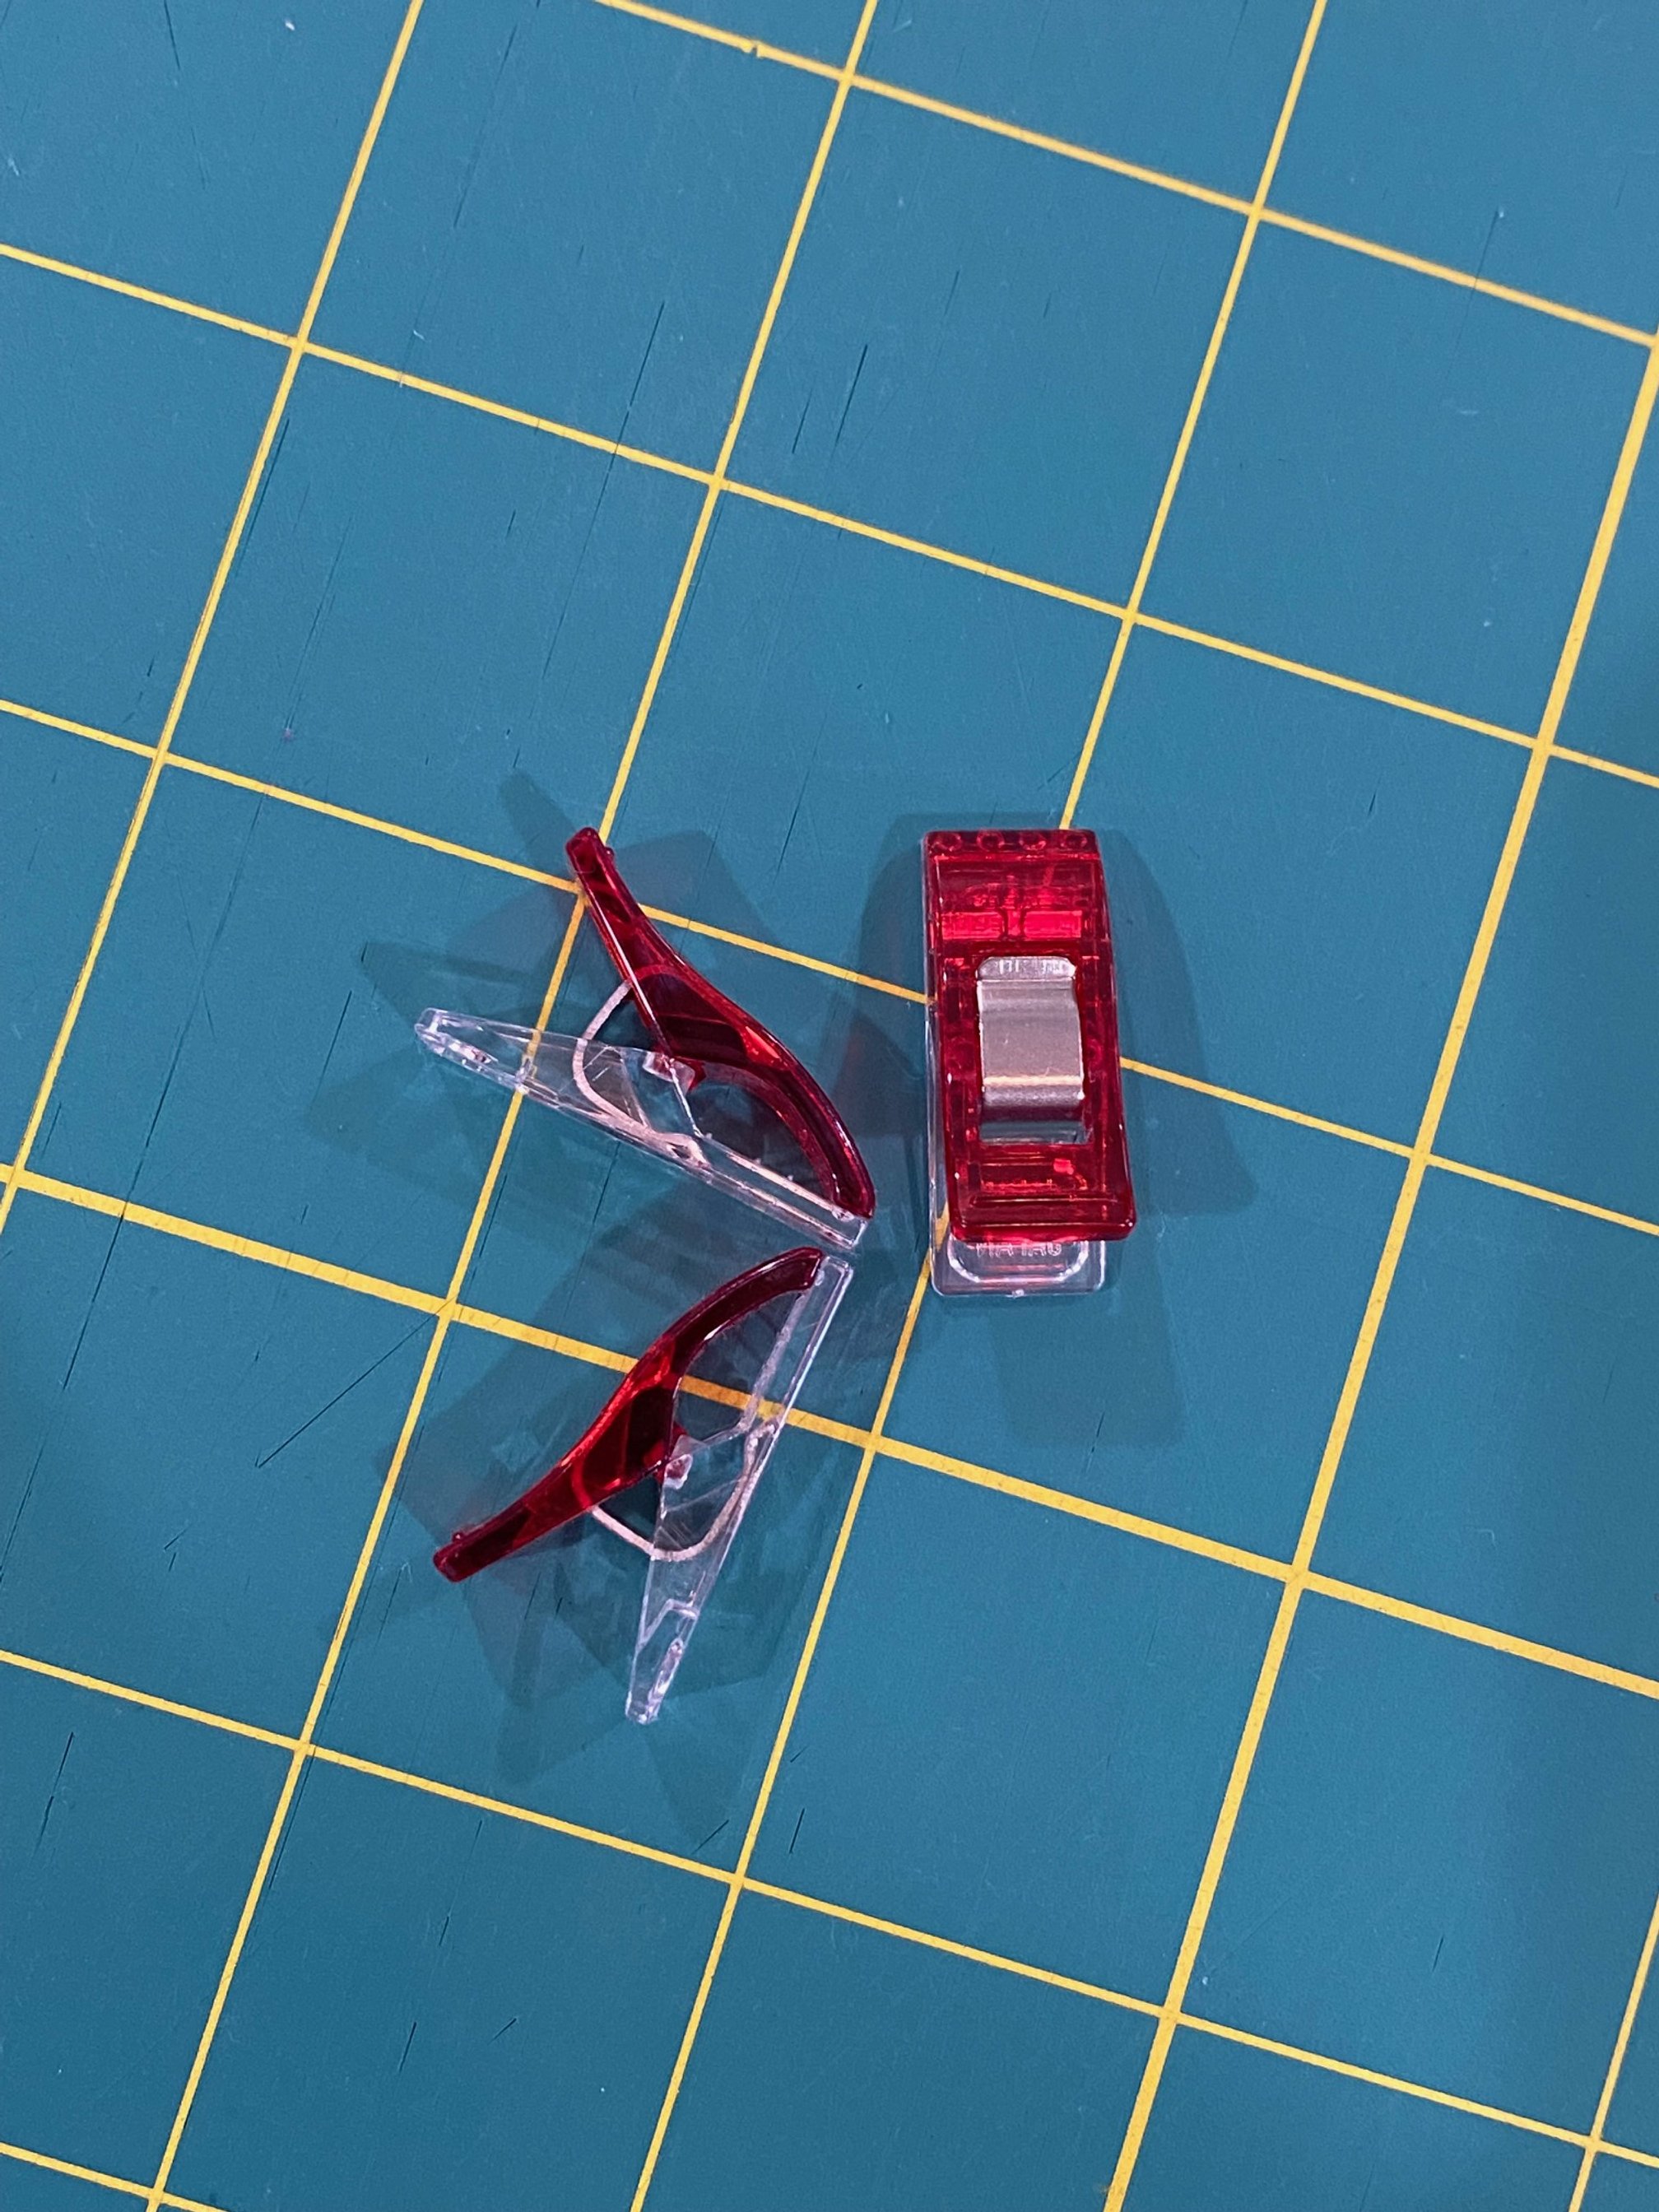
-binding clips (click here)
-needle threader (click here)
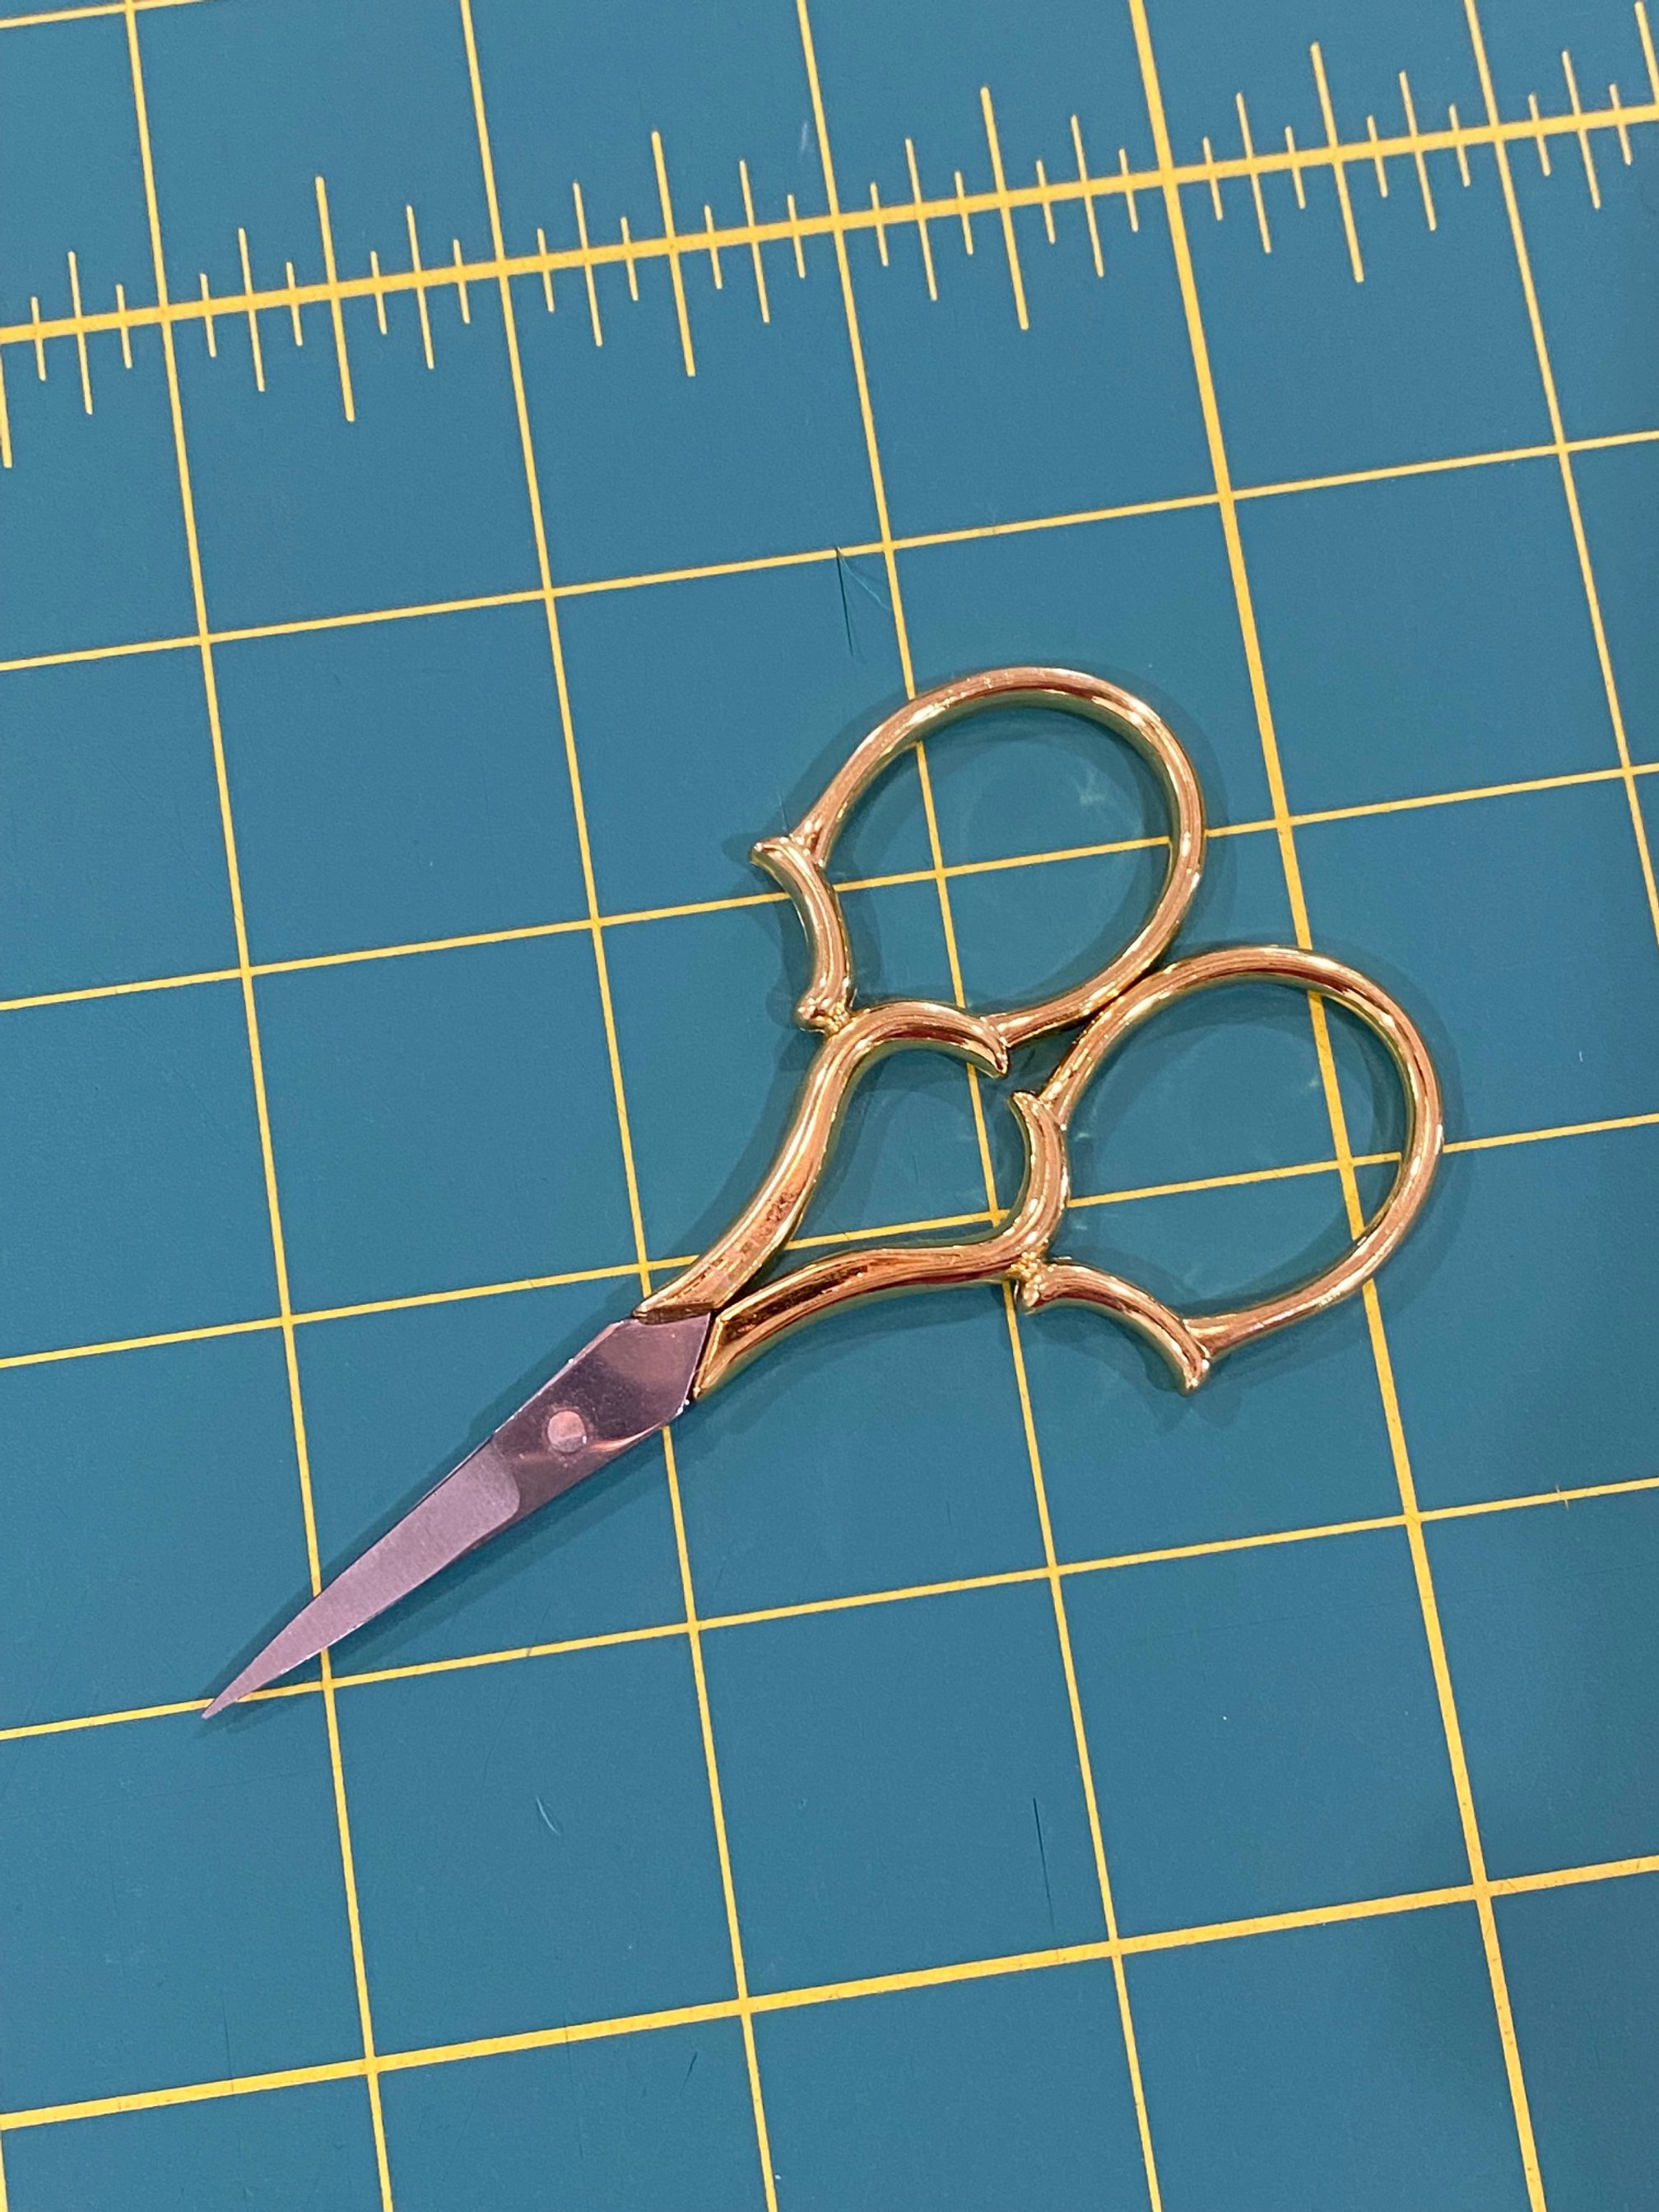
-scissors (click here)
Stitching:
The Perle 8 cotton thread is a little thicker so I like to use a needle threader. I am still able to thread the needle without it but why waste my time when this little tool is so helpful. I start with a length of thread about 18” long and knot the thread at the end to begin.
When I am stitching, I make sure to only grab the binding, back fabric, and a little bit of batting in each stitch. My stitches don’t go through to the front. Each stitch is around a 1/4” wide but I don’t worry about them being perfect. This part of the quilt is done by hand and therefore shouldn’t be perfect in my opinion.
I like to use these little clips to help hold down the binding so I am not having to pull on the fabric while is sew. I clip them in front of where I am sewing and move them farther down the quilt as stitch.
For thread choice:
I sometime like to have my thread match my binding fabric and sometimes I will have it contrast. I like to use the big stitch binding as a way to bring more character to the quilt so it varies with each one.
To finish:
As I get to the end of my piece of thread, I stitch to the back side of the binding between the binding and back fabric. I pick of a small piece of the back fabric and loop the thread twice to make a knot. Once I clip off the end of the thread the knot will be covered by the binding.
Common questions:
-When I have shown this technique on Instagram, the most common question I have gotten is whether the stitch is sturdy or if the binding is stable. I think because you can see the stitches it gives the impression that it isn’t as sturdy as the blind stitch that most people do on quilt bindings. This is not the case with the big stitch binding. The thread is being sewn through more layers of fabric than a traditional hand stitch making the binding sturdy and sewn down securely.
-I have done the big stitch binding on 10+ quilts this year and haven’t had issues with the binding pulling up or the thread wearing out. I do have 2 young kids that can be rough on their quilts and still haven’t had any issues.
-I also get asked why I don’t sew all the way to the front of the quilt. Technically, you could sew through the quilt entirely with the big stitch and add the decorative stitch to the front of the quilt. I don’t do it out of preference but you could do it if you wanted to.
The big stitch binding is such a fun way to add an extra detail to your quilts. I hope you try it out on your next quilt!