Quilted clothing made easy!
Have you ever seen a beautiful quilt coat on someone else and thought - "Wow, that's amazing, but I could never make one!". You are not alone!
Quilt coats and other quilted clothing items have become a modern fashion craze but making one can be challenging. There's the difficulty of selecting a garment pattern that will fit you well and the added risk of cutting up a quilt that you love and put a lot of effort into.
If taking on such an endeavor isn't for you, you can still make a quilted garment. Instead, consider adding a quilted pocket or patch to a sweater you already have!

Using up scraps of fabric and batting, you can whip up a quick, easy project in just a couple of hours. Get started with these 5 tips!
#1: Refresh An Existing Pocket
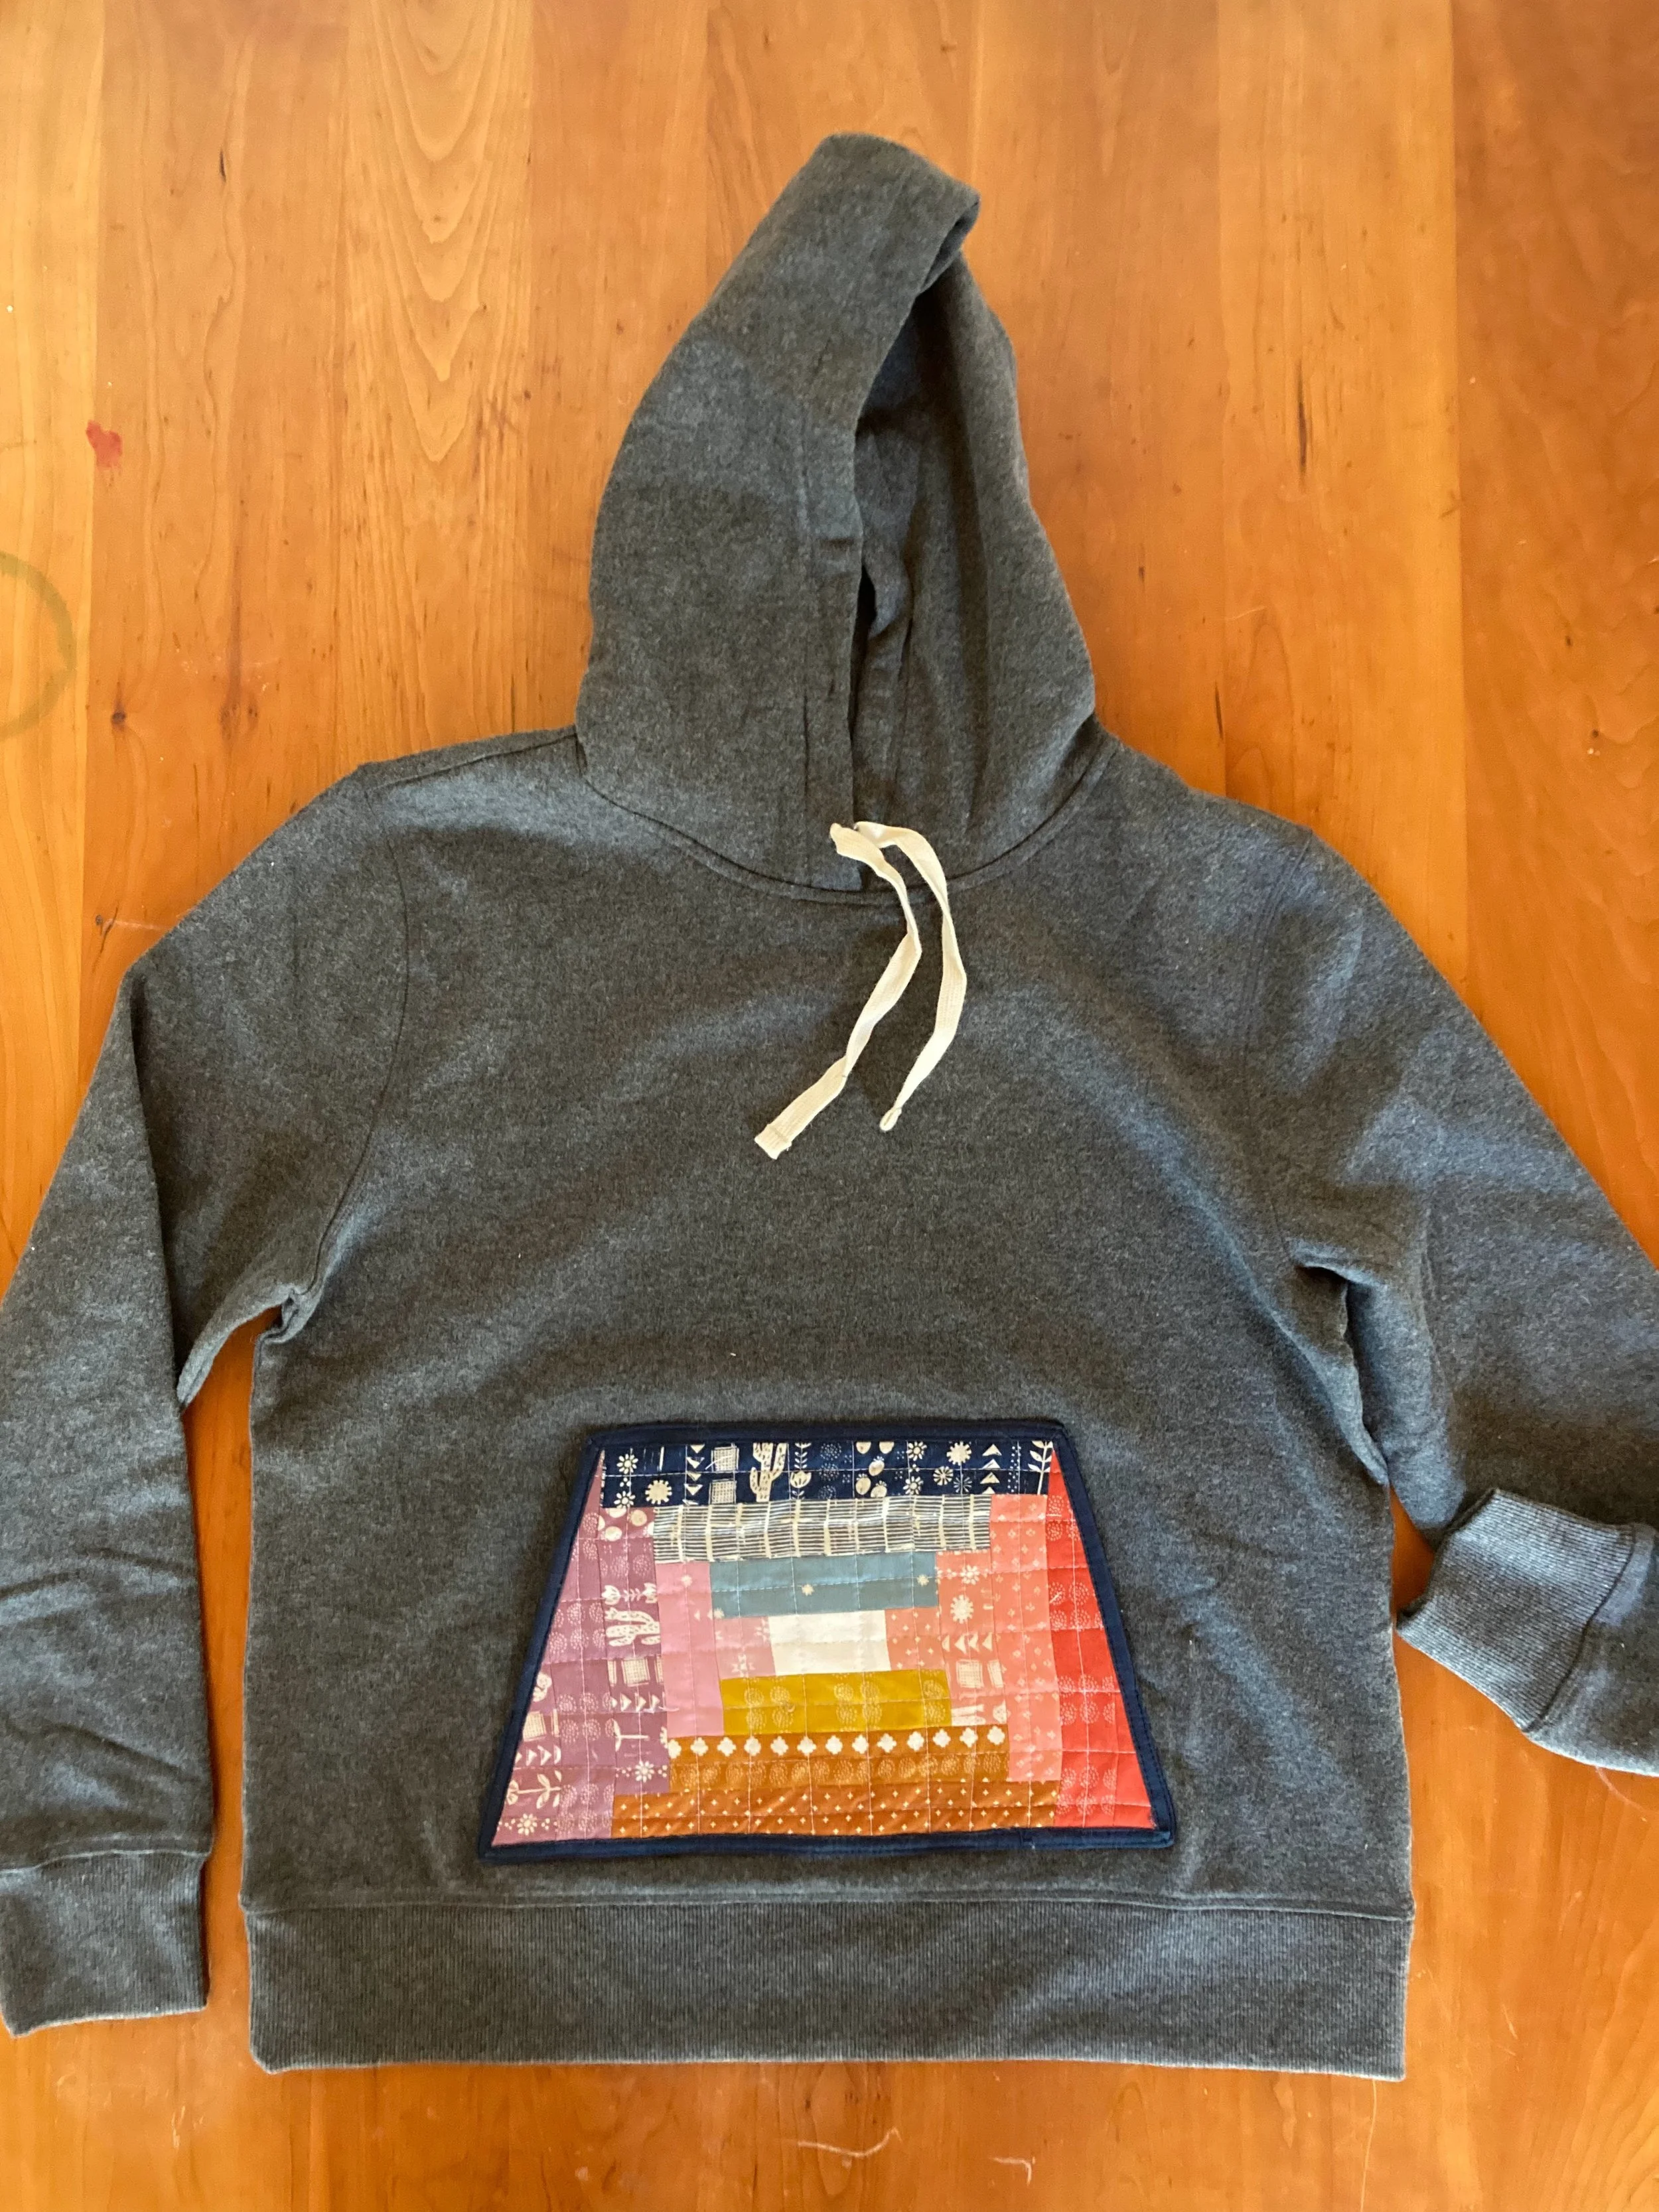
The easiest way to dip your toe into quilted clothing is to replace an existing pocket! Using a seam ripper, carefully pick out the original stitching - go slowly to avoid poking a hole in the garment.
Once you've unpicked the original pocket, you can use the piece of fabric you just removed as a template for the size and shape of your new quilt patch.
My first quilted pocket was an update to the kangaroo pouch on a hooded sweatshirt. A hoodie pocket isn't a rectangle so having a "template" to work from was invaluable.
Pro Tip: You don't have to make a replacement pocket that is precisely the same size - just use it as a guide!
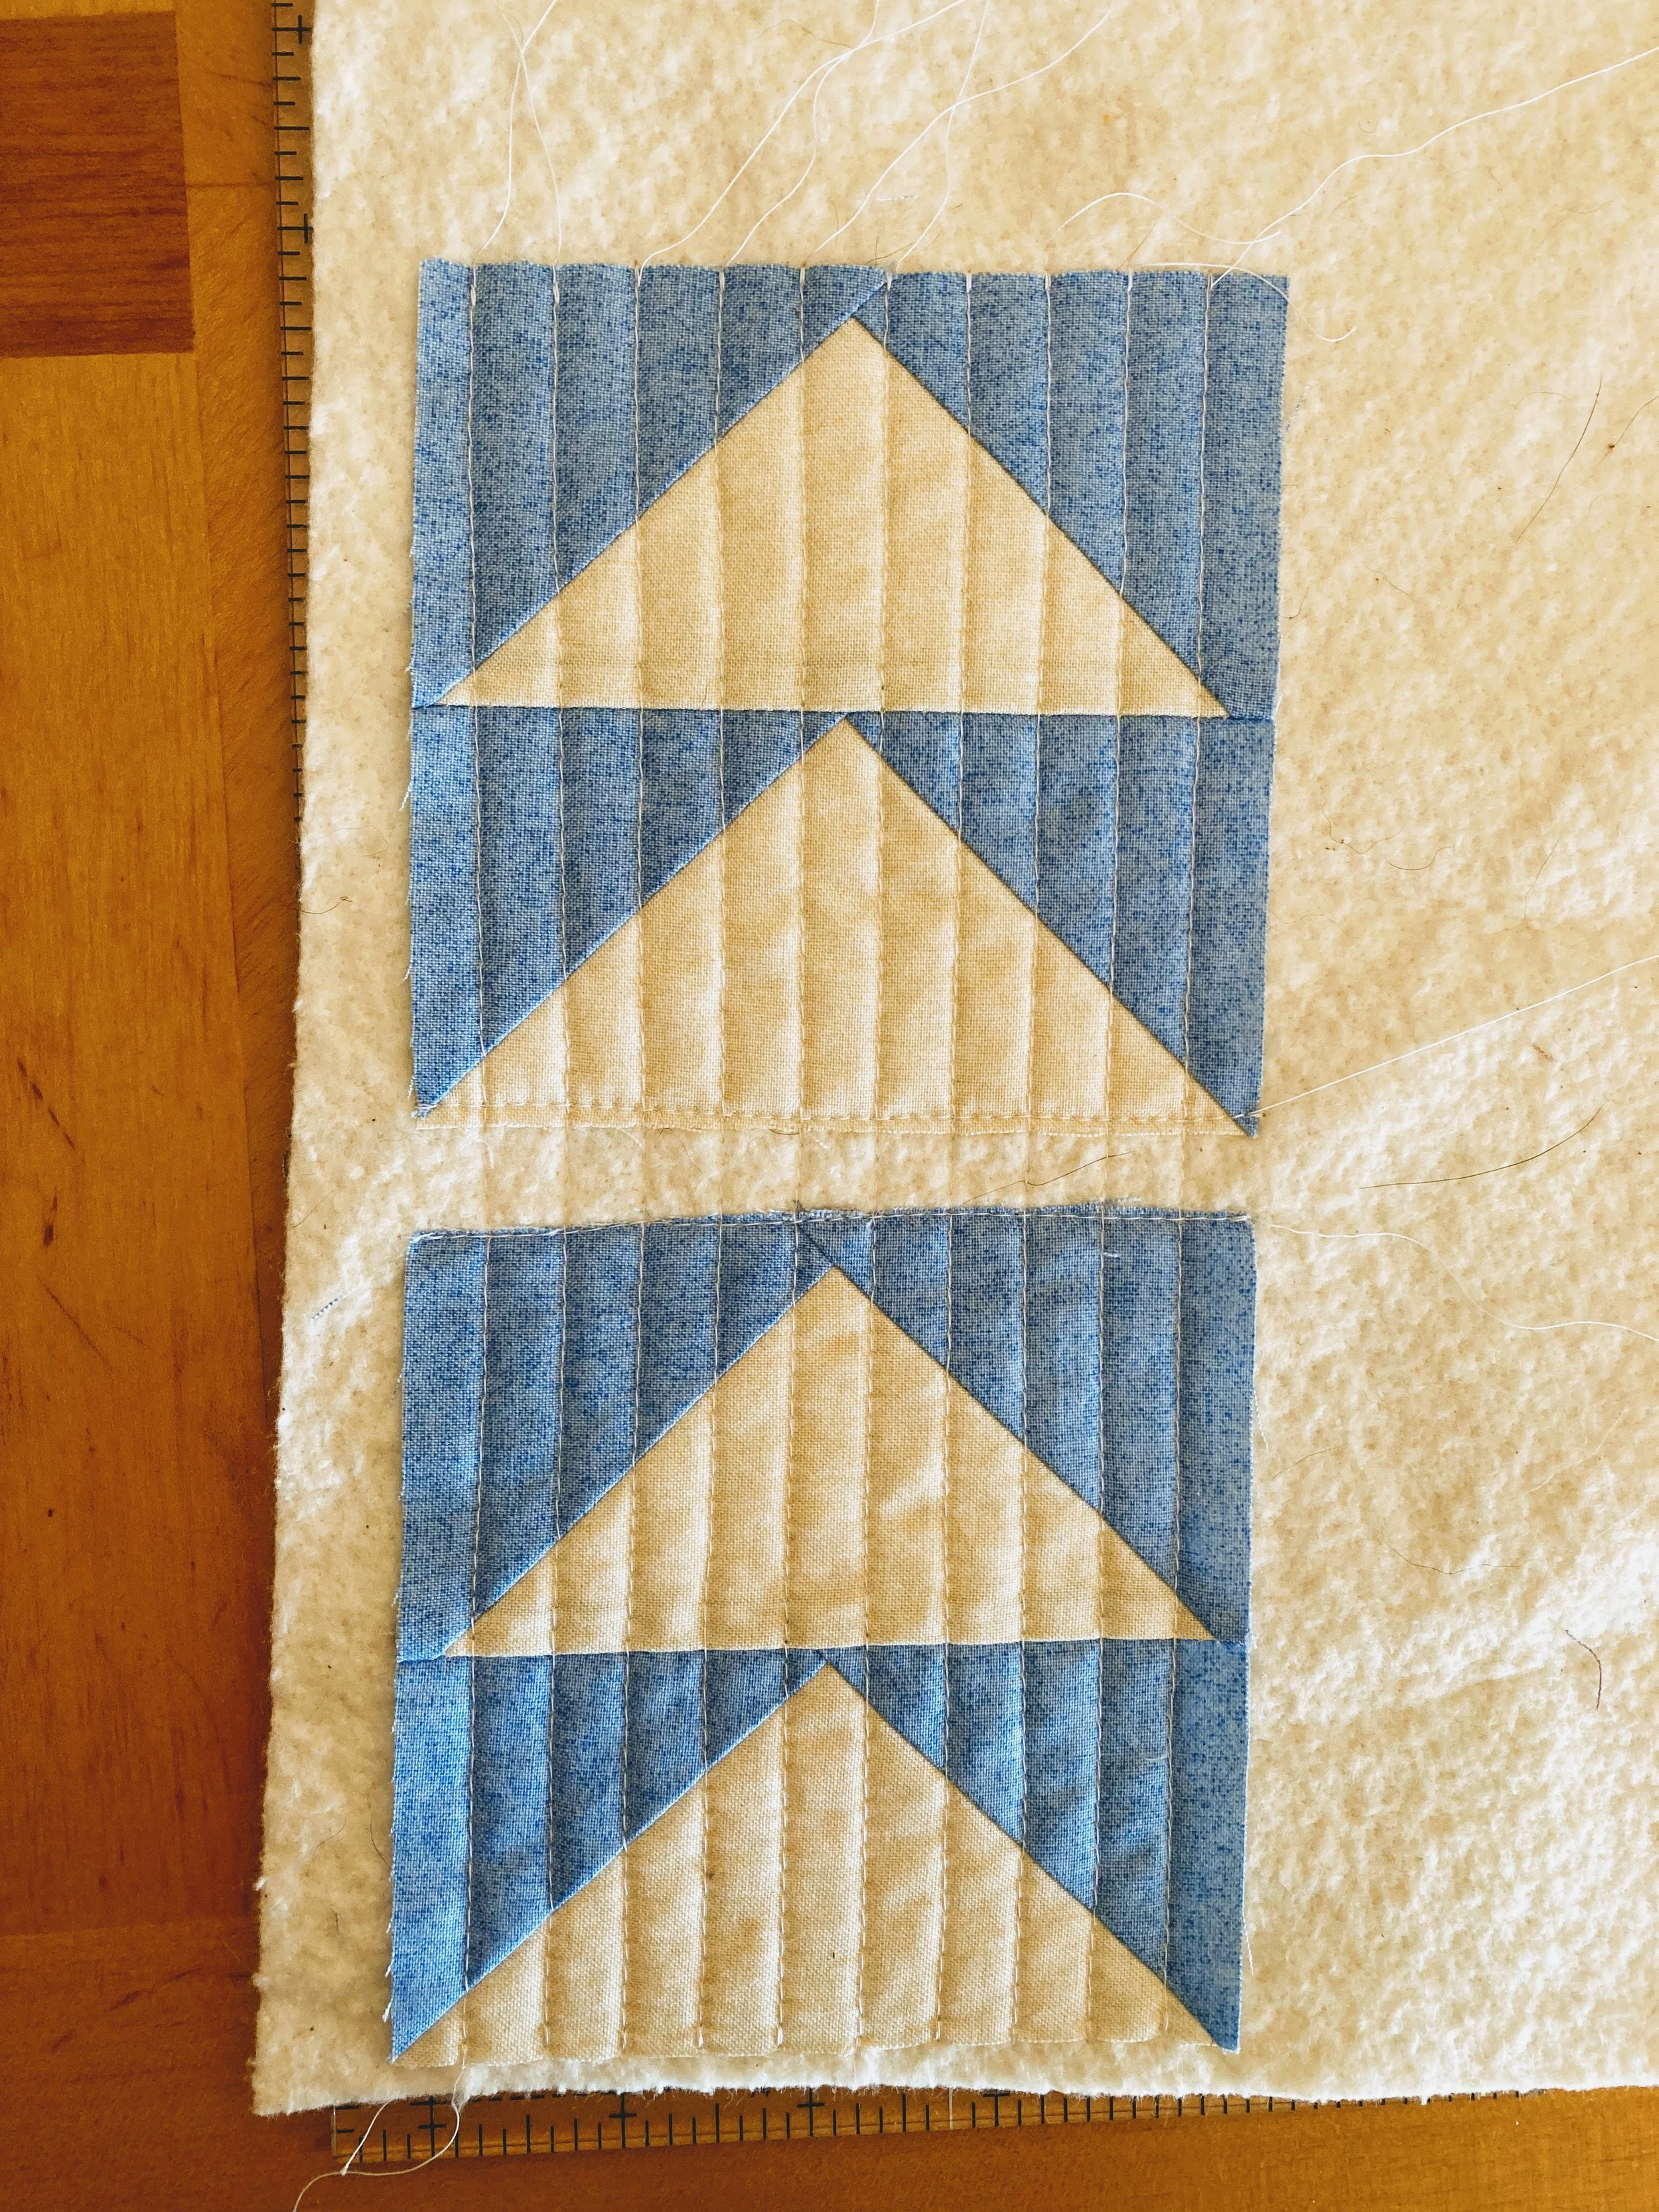
#2: Keep It Simple
Compared to a typical quilt block, your quilted pocket is quite a bit smaller. You can save yourself some frustration by choosing a simple block to piece! I've made pockets with flying geese (easiest), courthouse steps (moderate), and the sawtooth star (more challenging).
Other blocks to try:
Half Square Triangles
9-Patch
Pro Tip: Consider pressing your seams open to avoid bulky seams!
#3: Quilt Your Block
Once you have your pocket piece, it's time to sandwich and quilt it.
A piece of leftover batting works perfectly for this!
The "backing" of your quilt sandwich will be the inside pocket. You may want to keep this fabric close to the color of your garment or match it to the color palette of your patch - whichever you prefer!
I like to use a spray baste - a light spritz works perfectly. If you prefer to baste with pins, that's fine too!
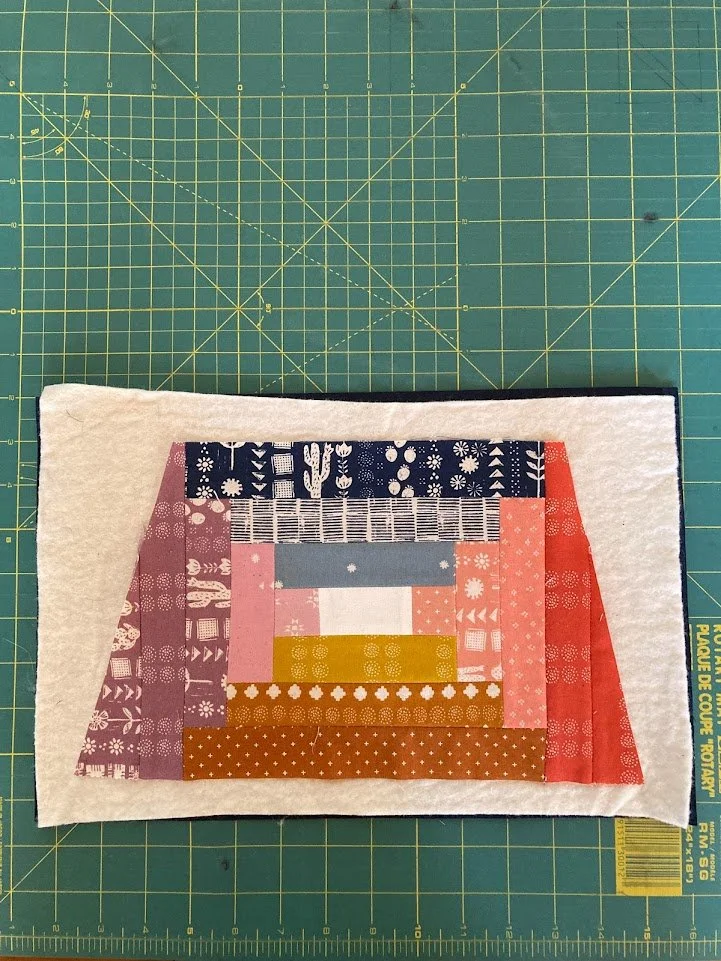
Quilt the block however you desire. Because the piece is small, I recommend keeping your quilting lines no farther than 1 or 2 inches apart so that you get good coverage over the block.
After quilting, trim your patch if needed.
Pro Tip: If you're making multiple pockets, baste them right next to each and quilt them simultaneously!
#4: Bind your Pockets
You'll be sewing your block onto a garment so we need to finish the edges. This step prevents fraying and makes the block look nice and neat. I've found the easiest way to do this is to bind it just like you would with a regularly sized quilt.
To determine the length of binding that you need, measure around the outside edge of your block.
Example: If your pocket is 4" wide and 4" long, you need 16" of binding.
Add a few extra inches to give yourself some margin to attach the ends.
I like to make my patch binding skinnier than usual because I don't want to add unnecessary bulk to the pocket. I cut my strips at 1.25" wide.
Sew your binding strips to the right side of the patch. Then, fold it over to the back and secure it with pins or clips.
#5: Topstitch your Pockets
Position your block on the garment where you'd like it to be and pin it down. If you have difficulty getting pins through all the layers, try safety pins!
Topstitch around your pocket to secure it to the garment. Try to keep your stitching as close to the edge of the binding as you can manage.
You're done! Wear with pride and enjoy!
About Jillian:
Jillian is a third-generation quilter based in the mountains of North Carolina. She delights in making quilting approachable and less stressful for new and experienced quilters alike.
Website: www.thismountainlife.com
Instagram: https://www.instagram.com/this.mountain.life/
YouTube: https://www.youtube.com/c/ThisMountainLifeQuilts