
Decorative Big Stitch Binding
Hi Everyone! I’m Christine from Modern Charm Stitchery. I am so excited that Kelsey has invited me to share a quick tutorial on a really fun finishing method I have been using lately: Decorative Big Stitch Binding.
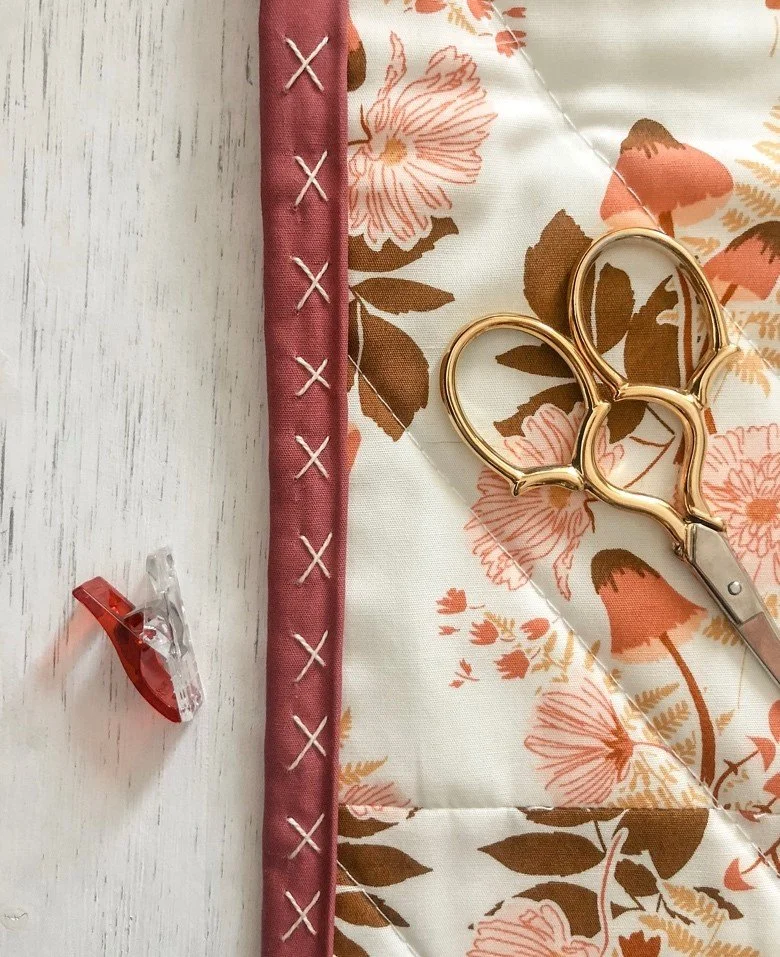
Now, let’s be honest, sewing the binding onto your quilt top is no one’s favorite part of making a quilt. But those final hand stitching steps are quickly being becoming mine. And here’s why: decorative big stitches that add such pretty and satisfying detail to a project. My favorite style so far has been the criss-cross stitch that I am explaining step by step below.
If you are interested in trying other decorative binding stitches, click here to download my Decorative Big Stitch Binding Idea Guide.
Criss Cross Big Stitch Binding: A Step-by-Step Guide
Getting Started:
First things first, you will need to have your binding sewed onto your quilt top. If you are like me and still hold your breath when it comes time to join the ends of your binding strips, here is the YouTube video I use every time (really, every single time) I finish a quilt. (https://www.youtube.com/watch?v=P1srfubwAIQ) Once the binding is on, I always press the binding down with my iron. If you haven’t done this before, it makes such a difference in getting your binding to lay flat.
Next you will need the following:
· Heavy weight thread or floss- I use DMC Size 8 Pearl Cotton.
· Needle- I am not picky about the needle I choose to use. Just something big enough to thread your floss through. I would avoid using a long Sashiko needle because you will not be doing several chain stitches in this method.
· WonderClips- Use these to hold the binding in place as you stitch.
· Optional: thimble
Now you are all ready to start stitching!
Cut a piece of floss about two feet long and thread your needle using a quilters knot. Prepare a section of your quilt for binding using Wonderclips.
IMPORTANT: It is not noted in each step below, but every time you bring the needle down, grab a little bit of the backing fabric to attach it to the binding. This will make sure your stitches are secure.
Step One:
Starting with the needle under the binding, bring the thread to the top.
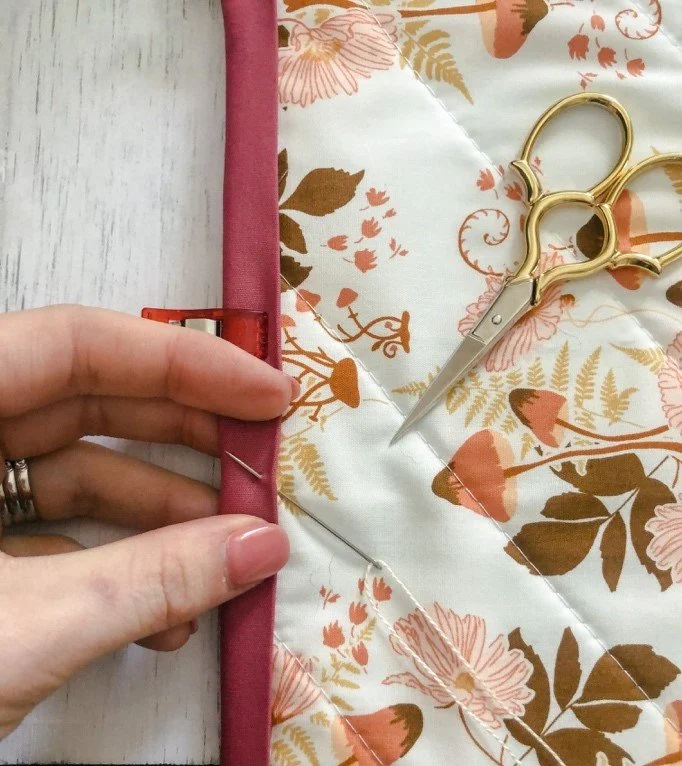
Step Two:
Bring the needle up and diagonally across the binding. The width of your stitch depends on how thick your binding is and also how large you want the criss-cross stitch to be (this will be the top left of the stitch)
As you push the needle back into the binding, position it straight down. Pull the needle back through so that the thread comes up in line with the bottom point on the last stitch.
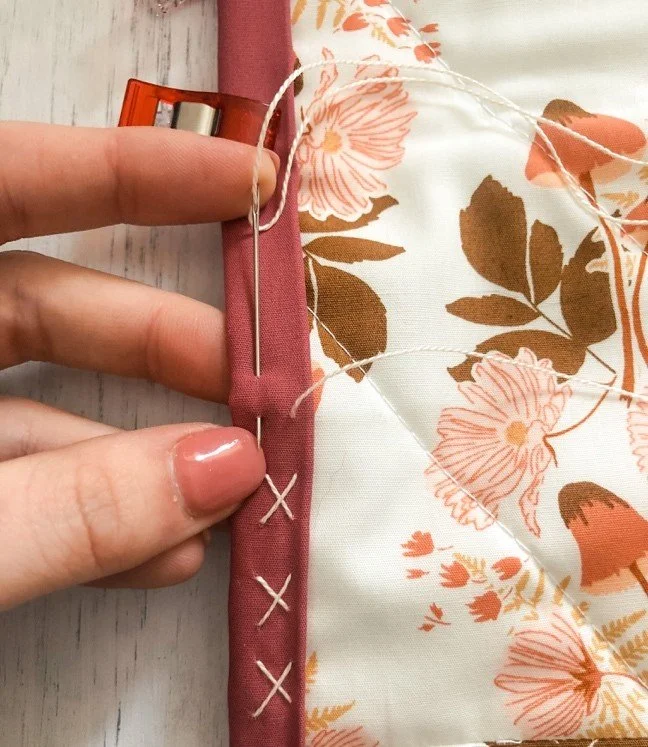
Step Three:
Diagonally cross the binding again and push the needle through to complete an “X” shape.
As you push the needle into the binding, position it straight up. Pull the needle back through so that the thread comes up in line with your last stitch. The length of this stitch is up to you; but this will be the space between stitches, so do your best to keep it consistent.

Repeat these steps until you have stitched all four sides of your quilt!
Note: You can follow the exact same steps to complete this stitch on the corners. However, make sure that the two bottom points of the “X” are on one side of the mitered fold, and the other two points are on the opposite side. This will keep your binding down and prevent flapping in the corners.

I hope you found this tutorial helpful, and I’d love for you to tag me on Instagram (@moderncharmstitchery) and share what you make! Seriously, this would make my day!
Also, make sure to check out my blog (www.moderncharmstitchery.com) and subscribe to my newsletter or download Big Stitch Binding Ideas here.
Cheers to all my detail-loving friends!
Christine
www.moderncharmstitchery.com