How to Print Custom Quilt Labels at Home
Hi friends! I’m Jessica of Quiltd Studios. As a modern quilt pattern designer, I’m always looking for ways to add beautiful, custom touches to modern quilts. And these custom quilt labels are just the thing you’re looking for! And the best part? The supplies can be easily found around the house.

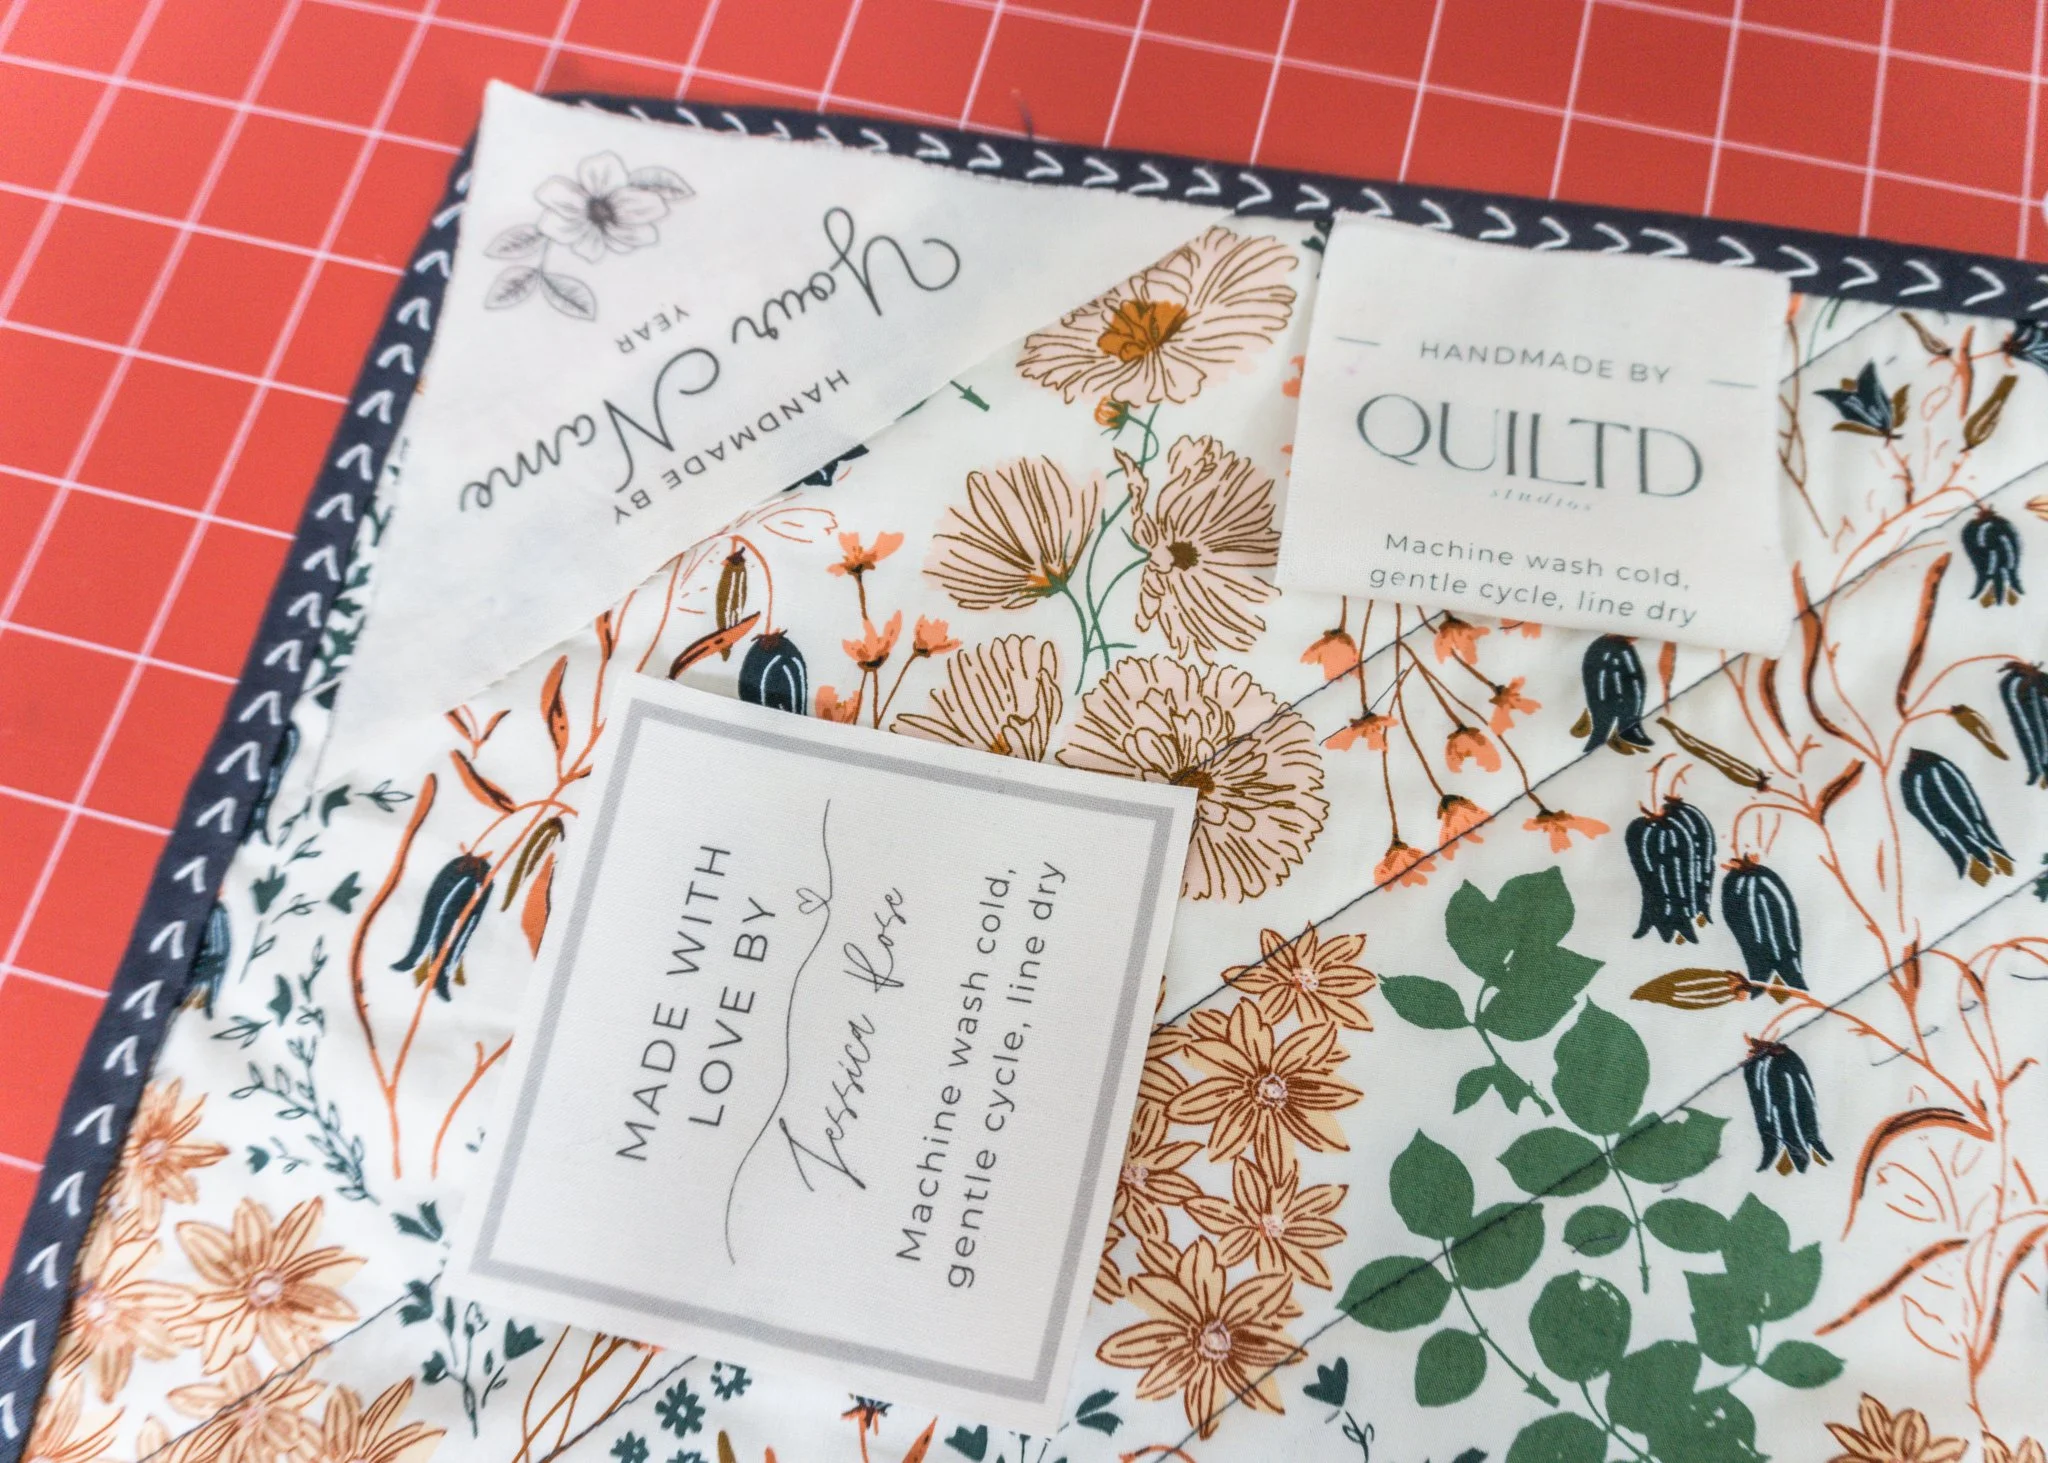
Create Custom Labels
This is the fun part, you can find free downloads for labels HERE or even design your own in Word or Canva. You can include the following details:
Name or Business Name
Year or Special Date
Care Instructions for the Quilt
A Special Memory
A Quote or Saying
The best part about custom labels is that they can be changed to reflect you and even include a dedication to the recipient of the quilt. Commemorating events and gifts, or even just a finished quilt is important! It can add history and significance that is permanently attached to your quilt.

Printing Custom Labels
You can find detailed printing instructions HERE but here are some general rules to ensure that quilt labels stay as sharp as the day you printed it.
Supplies Needed:
Light colored fabric
Iron
Freezer Paper
Inkjet Printer
Vinegar or RIT Dye Fixative
Step #1: Prepare the Fabric for Label Printing
Prewash a light-colored cotton fabric to strip it of any chemicals or dust. Once prewashed, dry and iron so that it’s as flat as possible (you’ll be feeding it through a printer!).
OR simply pick up fabric printing sheets like THESE which are premade and pretreated. I would avoid adding starch which could potentially prevent the ink from penetrating the cotton.

Step #2: Print with an InkJet Printer
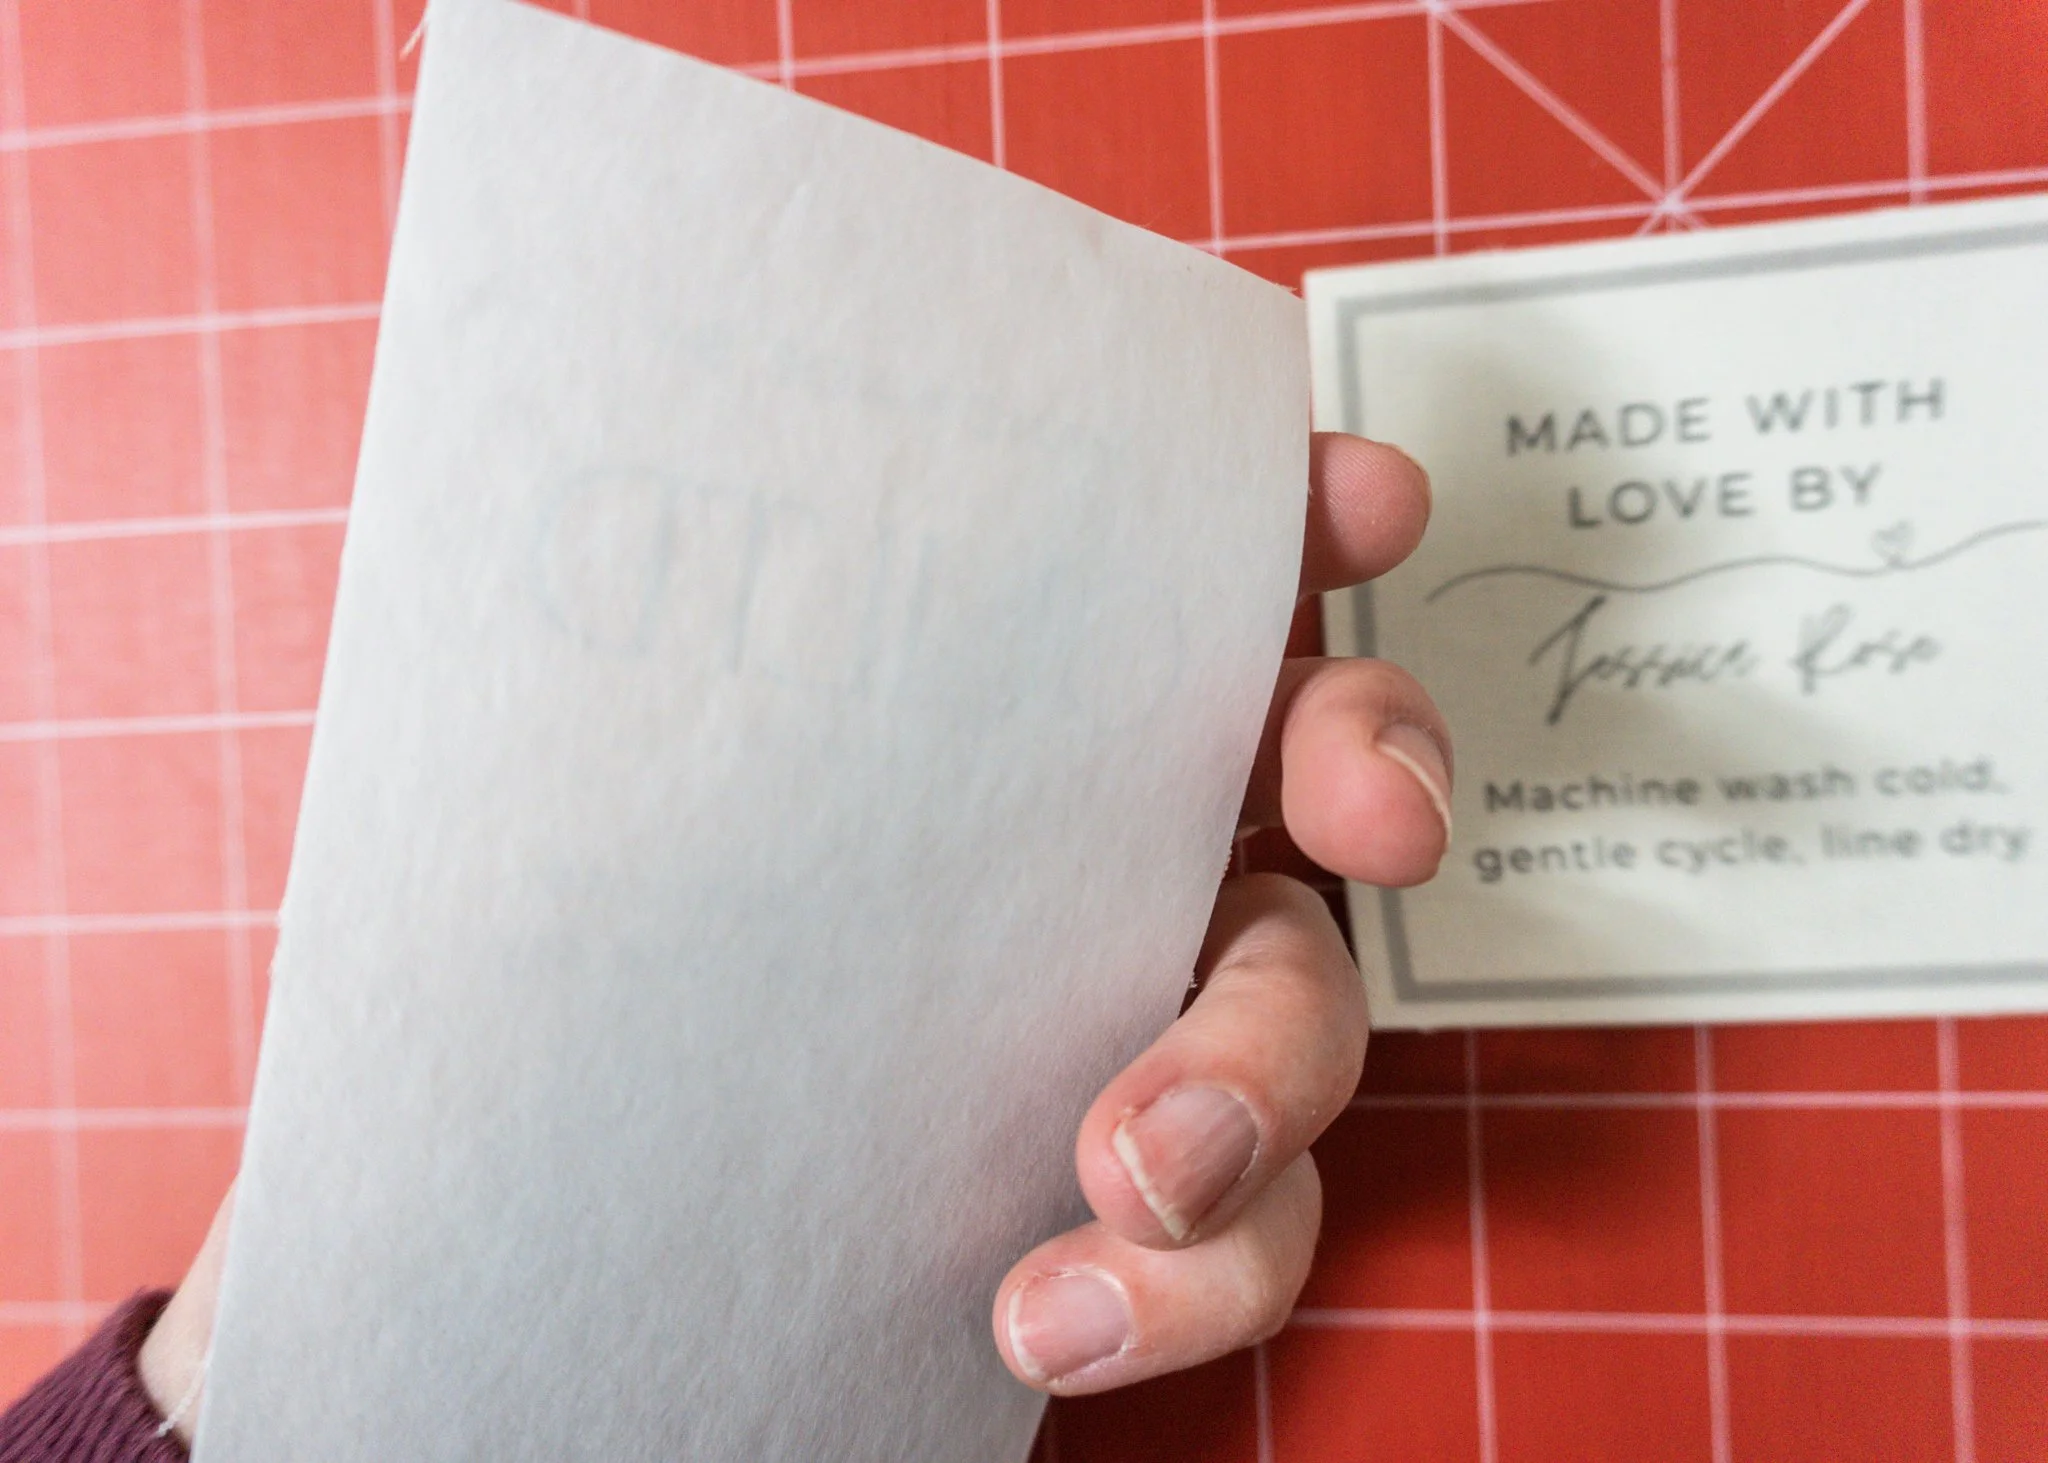
After preparing your fabric, iron it to freezer paper with the shiny side towards the fabric and cut it down to 8.5” x 11” printer paper size. I’ve also seen people use a laminator to heat the fabric and help it stick to the freezer paper.

Next, you’ll feed the paper/fabric sheet into your printer. Make sure that all the corners are nice and flat and attached to the freezer paper. Using an Inkjet printer will ensure that your labels are colorfast.
Print with normal settings so that the ink is deposited on the fabric (not the freezer paper).
Step #3: Apply a Fixative and Wash
You’ve successfully printed your labels, and now let’s make sure that the beautiful custom labels stay after washing!
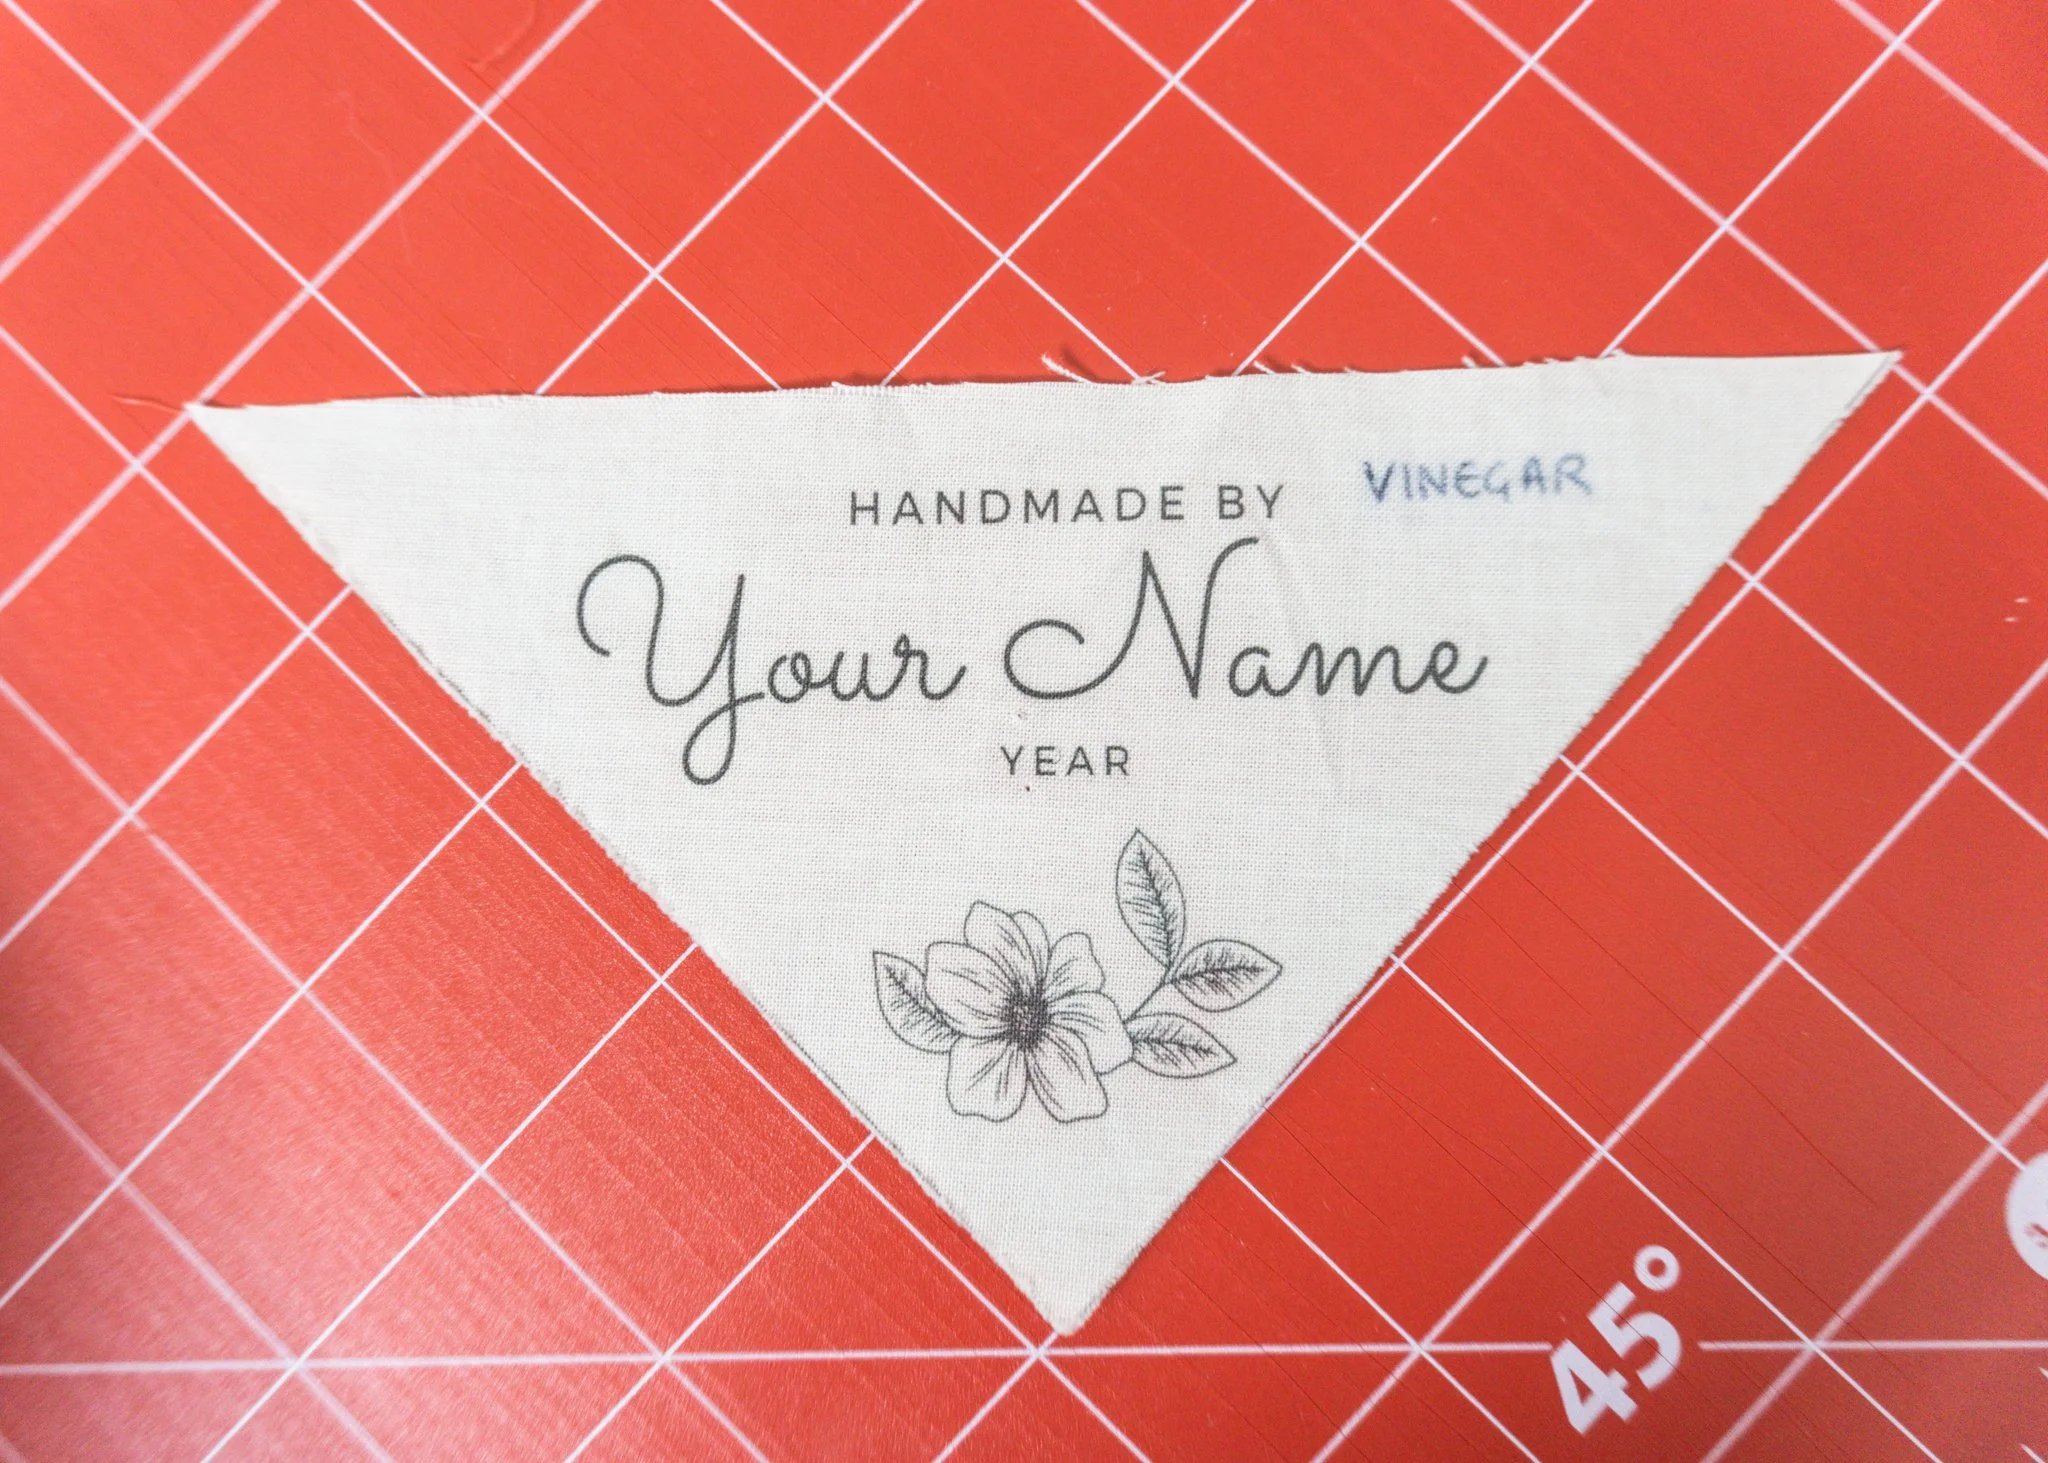
There are two ways to apply a fixative, the first is using Vinegar, the second is RIT Dye Fixative which you can pick up at most craft stores or HERE.
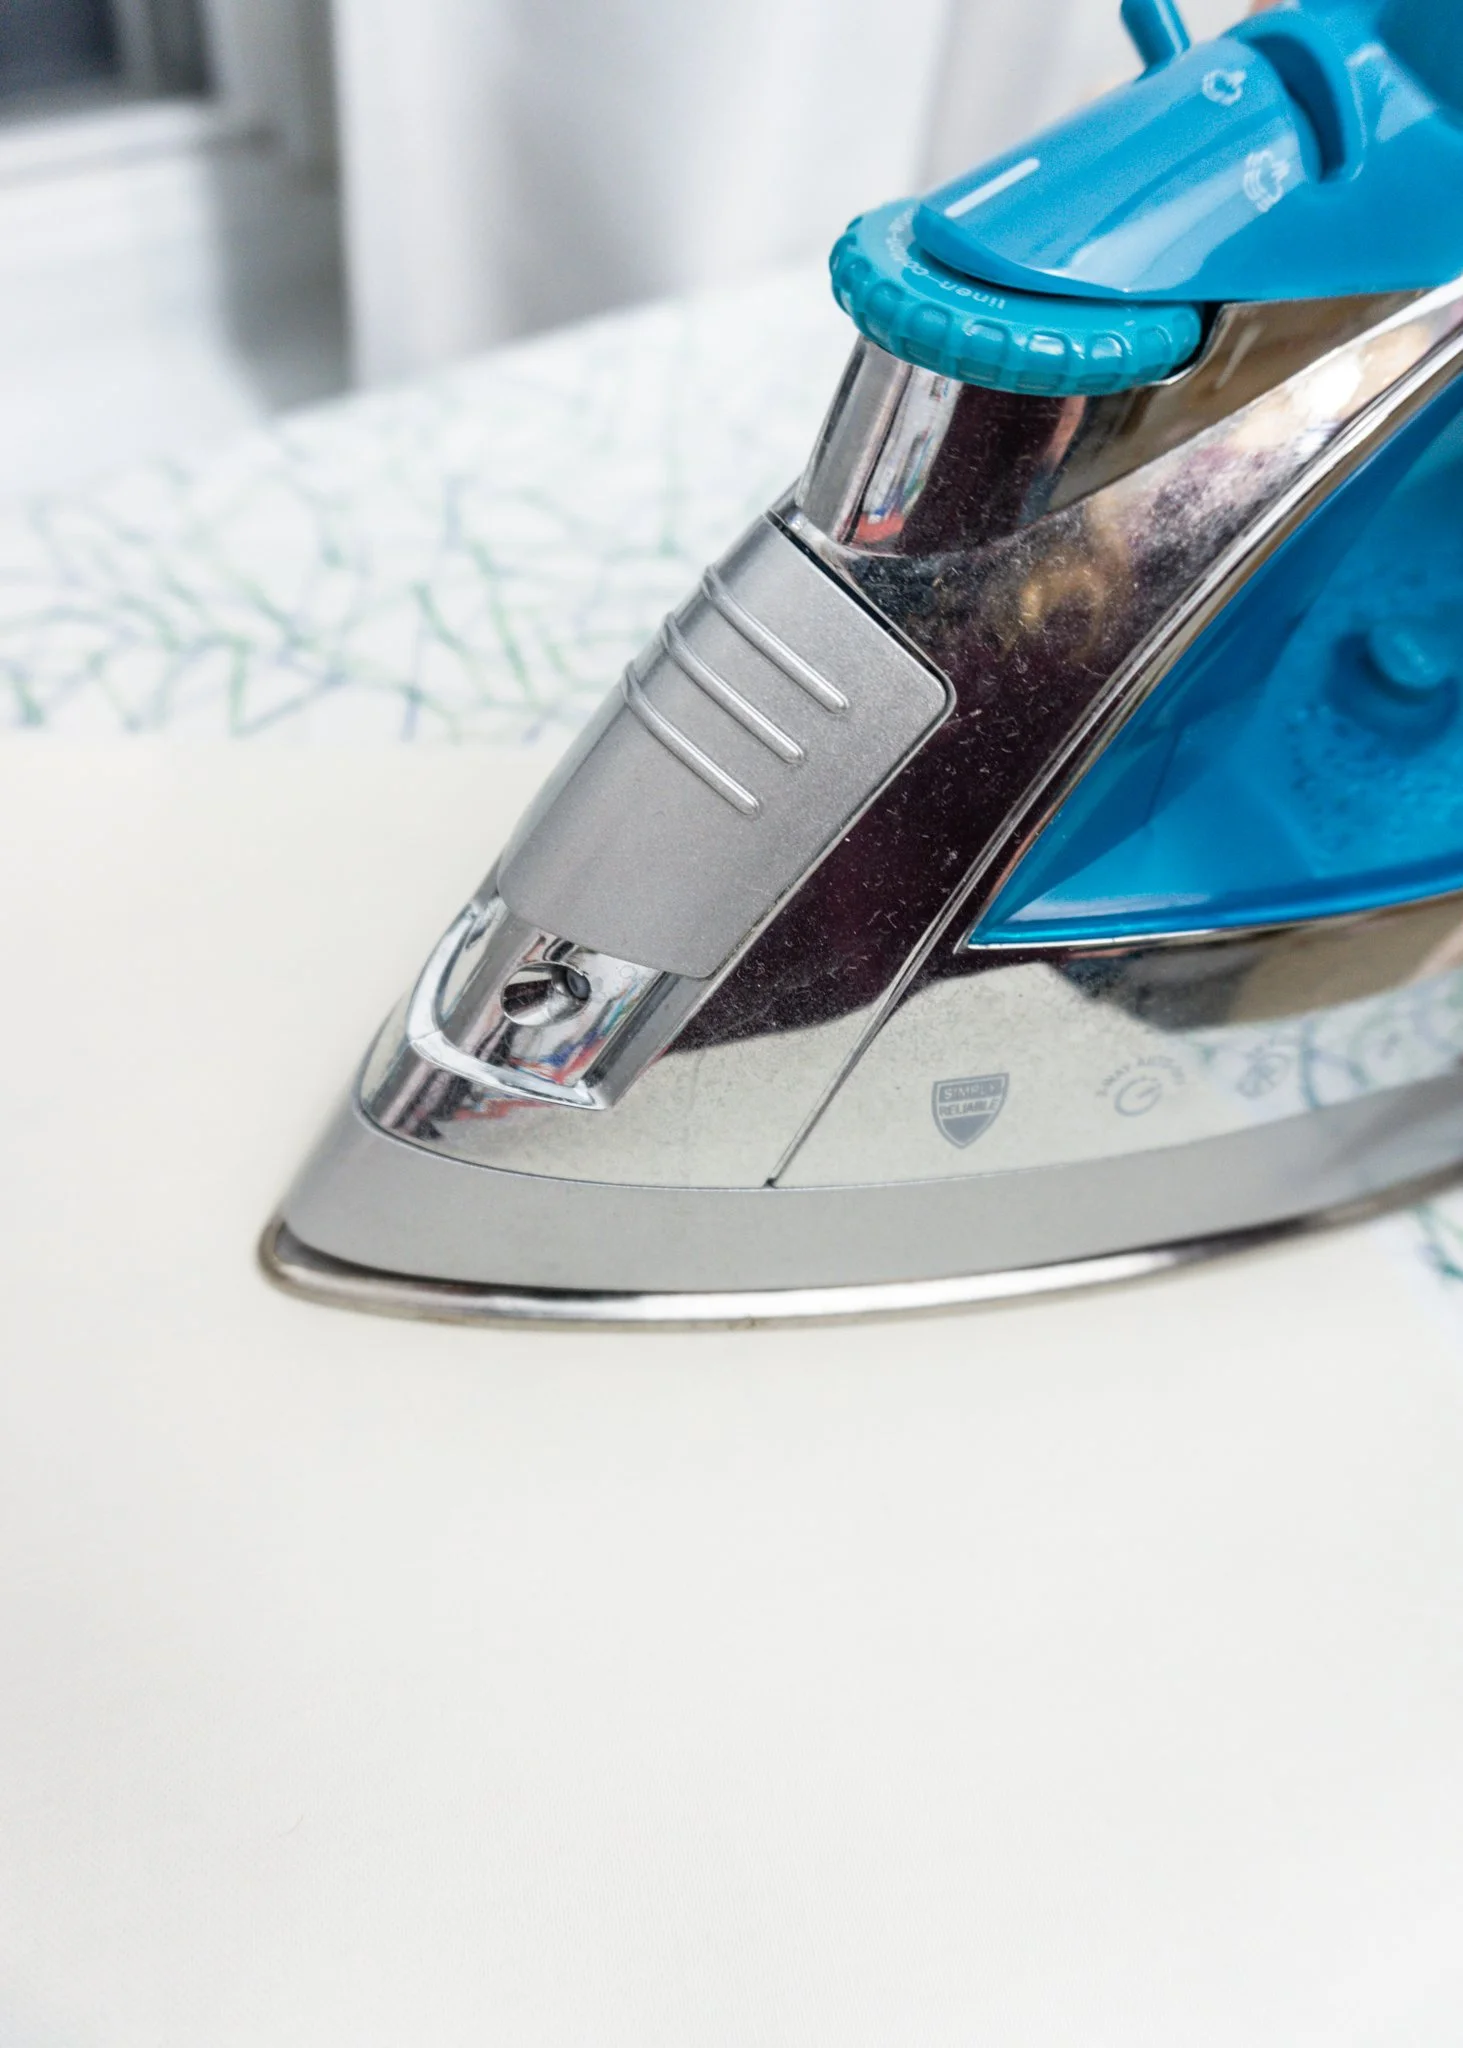
Let your labels dry for a few hours and then with a hot (cotton setting) iron heat set the labels. After heat setting, you’ll lightly spray (with the finest mist setting) vinegar or RIT Dye Fixative on the labels. Avoid soaking or pouring, as that will dull the lines and move the ink around.

After lightly misting the labels, let them air dry and then (again) heat set with a hot iron. The heat helps set any fine lines, etc.
The next step can be done before attaching or after attaching, however, I’d advise to wash before. Apply either Fray Check to the edges or hem the edges, and then wash on a delicate, cold cycle (or hand wash). This ensures that you know exactly what the labels will look like when finished and attached to the quilt.

Step #4 Attach Custom Labels
Before finishing your quilt, you can whip stitch the label onto the backing (or front, there are no rules in quilting!) or even sew it into the binding, which is what I usually do.
I can’t wait to see what labels you create and don’t forget to share them so White Rose Designs and I can see them!